Key Takeaways
- Free up storage on laptops by deleting apps, photos, and files, and using cloud storage.
- Easily remove apps on Mac from the Mac App Store, use Finder for other apps; on Windows, use Settings or Control Panel.
- Maintain cleanliness by using Disk Cleanup on Windows, organizing files, and physically cleaning the screen and keyboard.
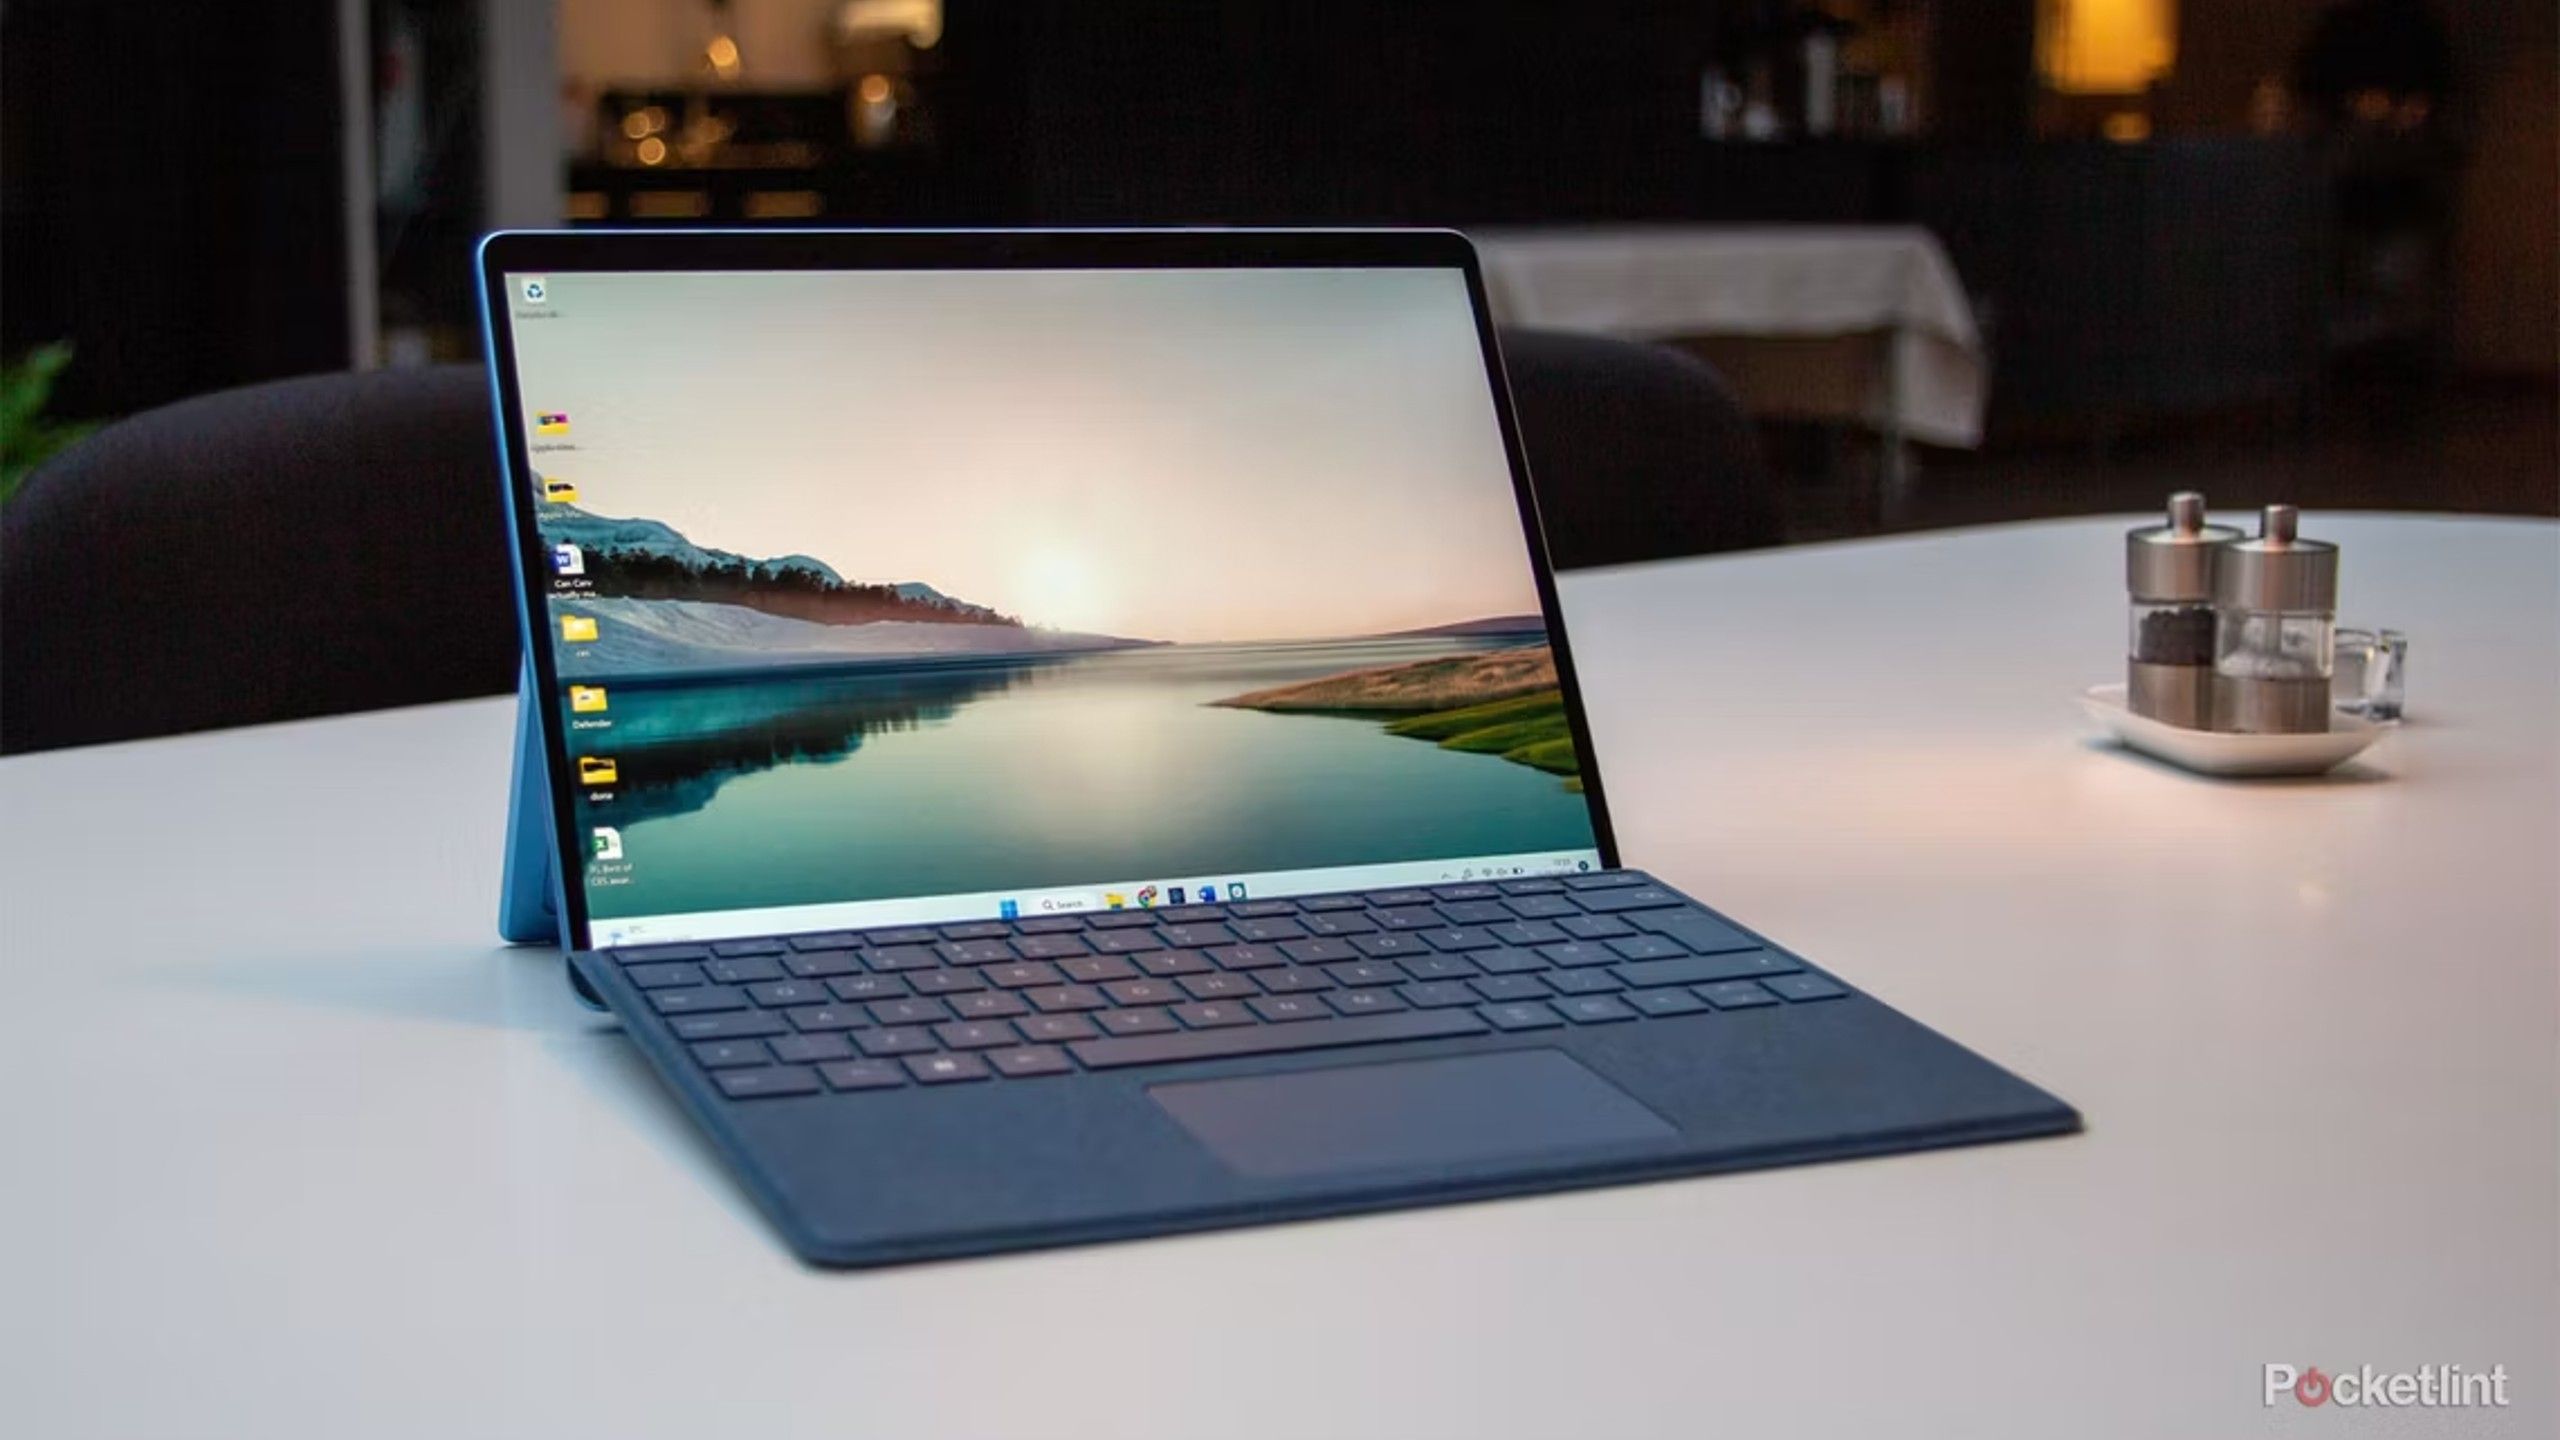
Laptops aren’t only bigger than your smartphone, they tend to have more storage too. That combination of more physical real estate on your screen and storage on your hard drive means it’s not hard for things to get out of hand, either with a hard drive full of stuff, a cluttered desktop of files, folders, and application shortcuts, or both. Because laptops are frequently used for both entertainment and work, that kind of mess doesn’t make completing tasks or relaxing once they’re done any easier.
Culling your apps, letting go of photos you don’t need, and removing the leftovers that you can collect by just owning a computer is a great way to start.
With spring in full swing, now’s the perfect chance to tackle that problem head-on. Whether you have a Mac or a Windows machine, culling your apps, letting go of photos you don’t need, and removing the leftovers that you collect just by owning a computer is a great way to start.
And topping that off with physically cleaning your screen and keyboard can make your laptop feel new. Here are a few tips and tricks to clean up your laptop, from freeing up storage, to removing dust.
Spring forward with a clean iPhone: Storage and home screen tidying tips
Spring cleaning isn’t just for scrubbing baseboards and organizing closets — your iPhone is probably due for a clean out too.
How to free up storage on your laptop by deleting apps, photos, and files
Modern laptops Windows and Mac laptops typically offer a built-in way to offload files and photos to the cloud to give your computer some more wiggle room, but apps, and all of their installers, uninstallers, and support files are a whole other story.
How to remove apps from your laptop
Depending on if you have a Mac or a Windows PC, the process for uninstalling and deleting apps is going to be different. To start, consider which apps you don’t use often and don’t need to keep around for the once-in-a-blue-moon work emergency. Once you have a list of apps in mind you want to delete, you can get started.
On a Mac, the easiest apps to get rid of are ones you’ve downloaded from the Mac App Store.
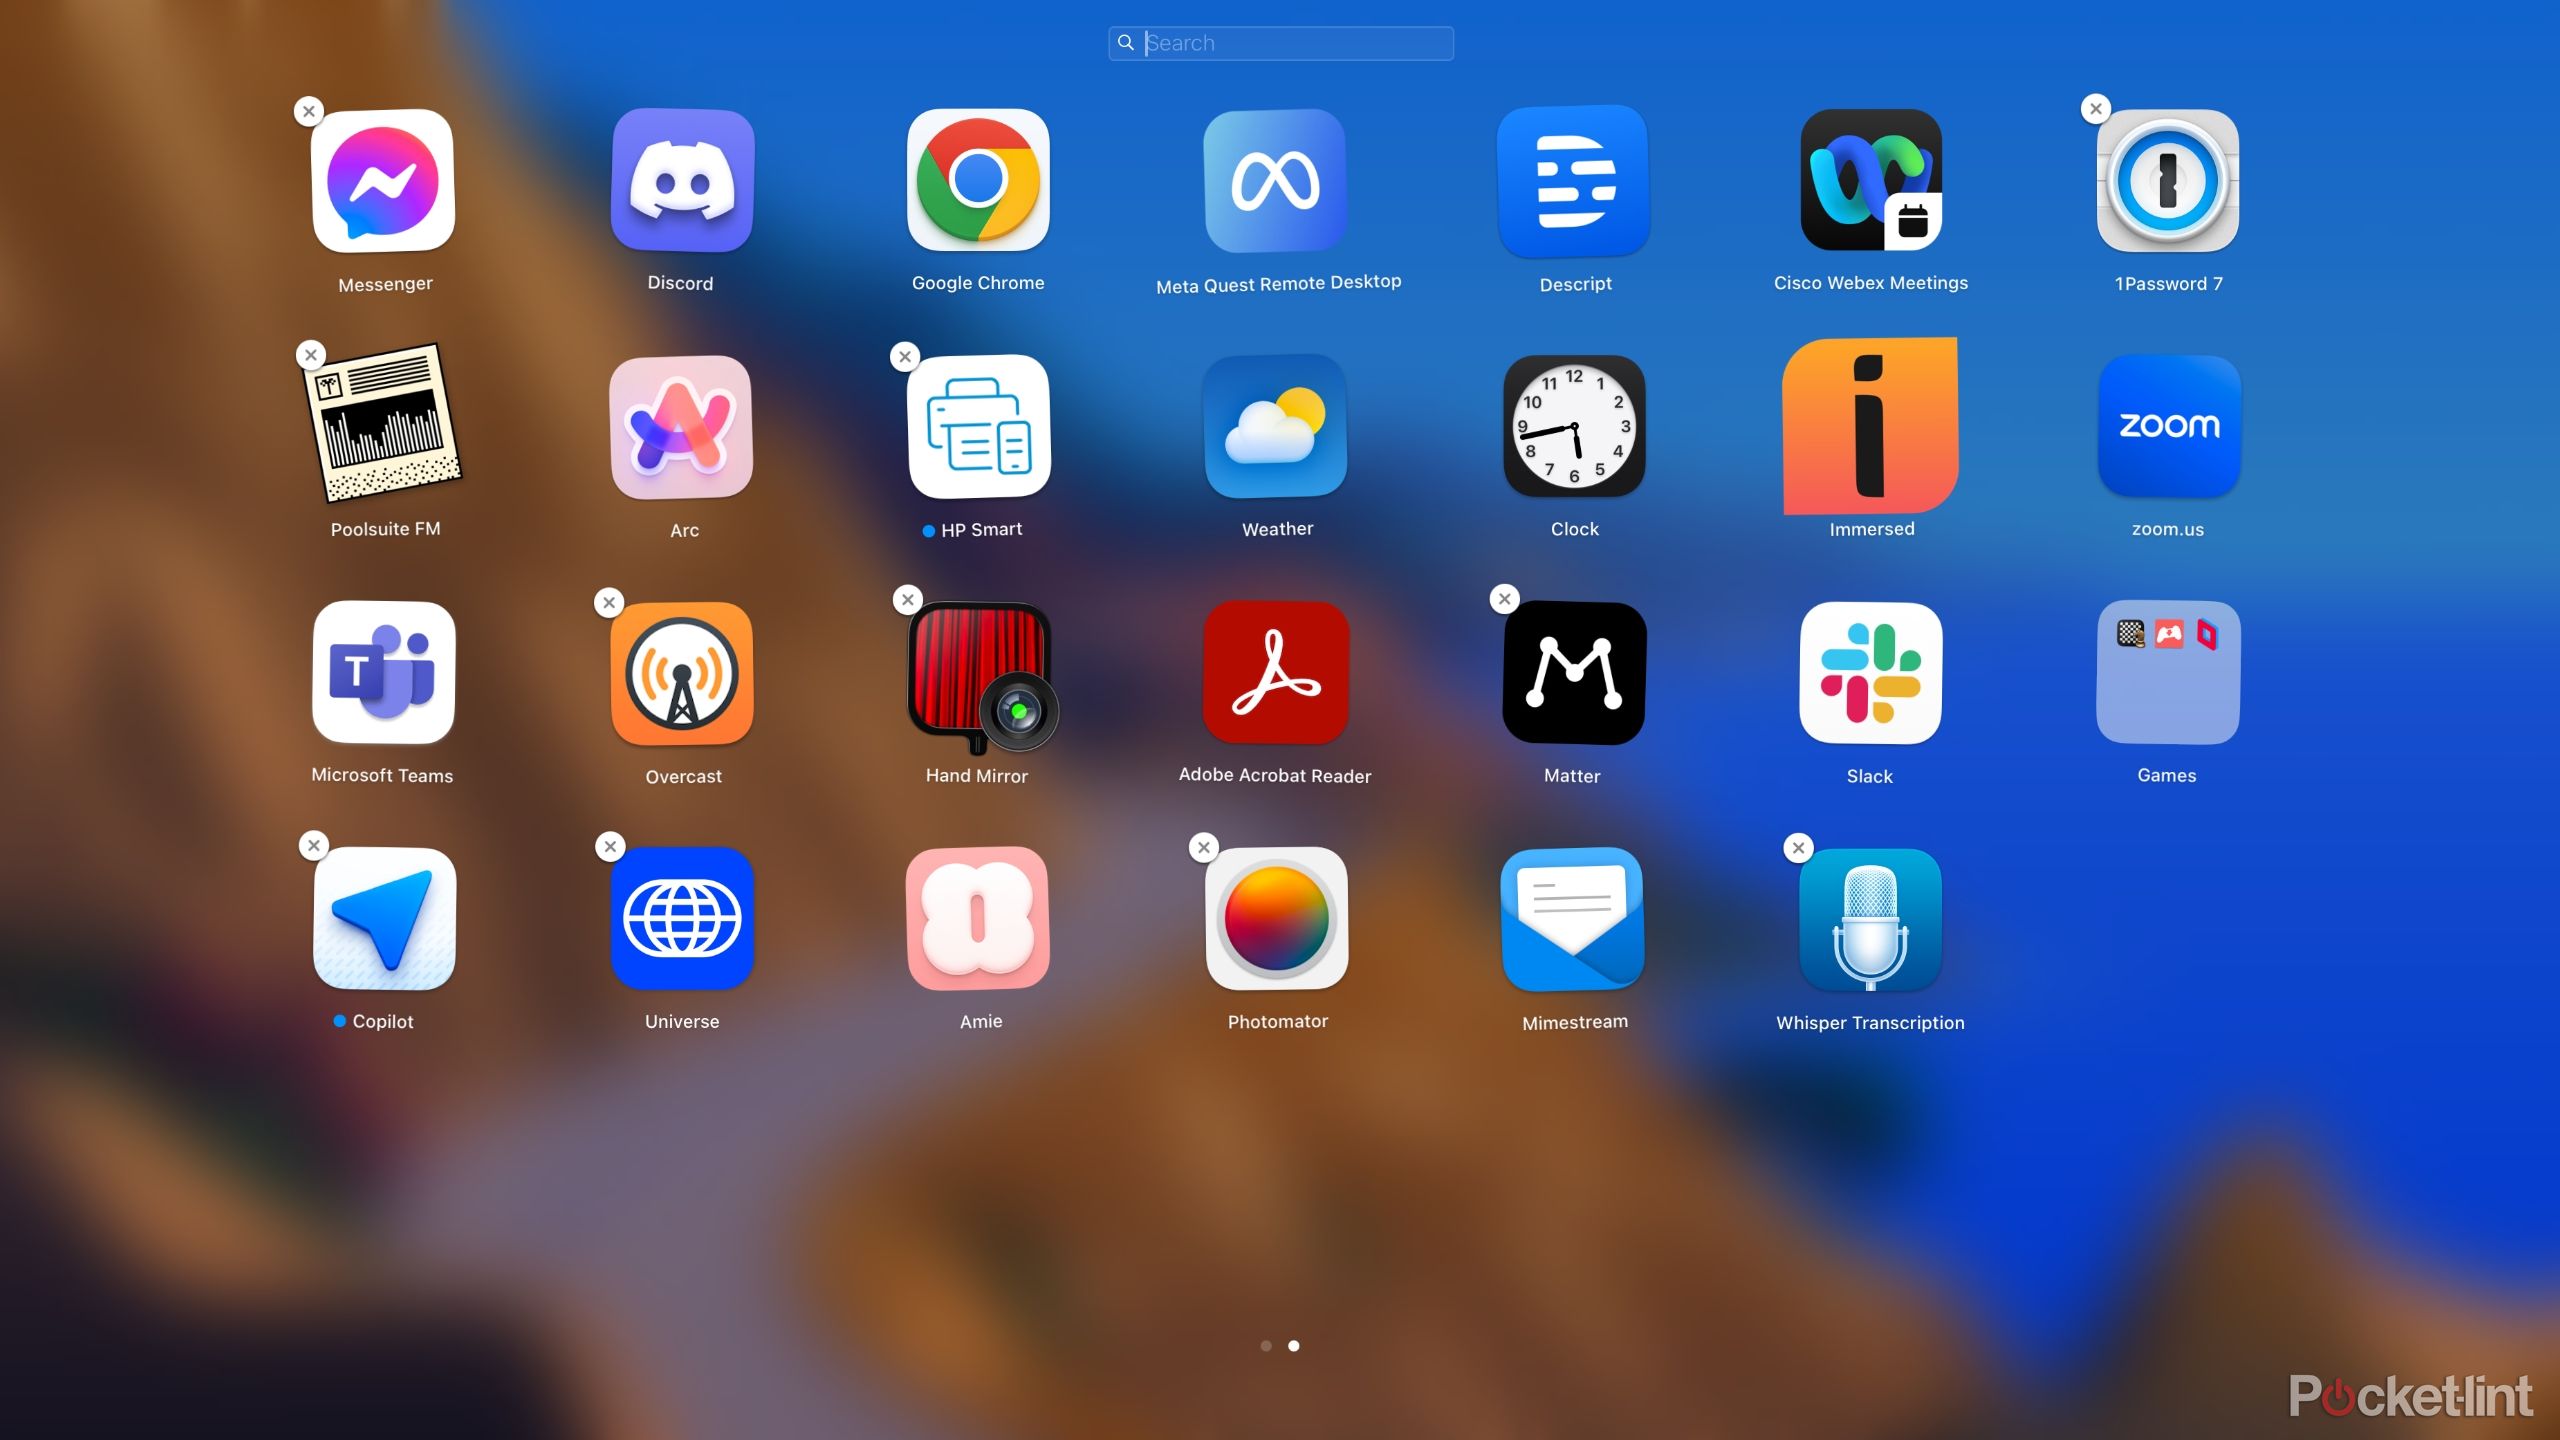
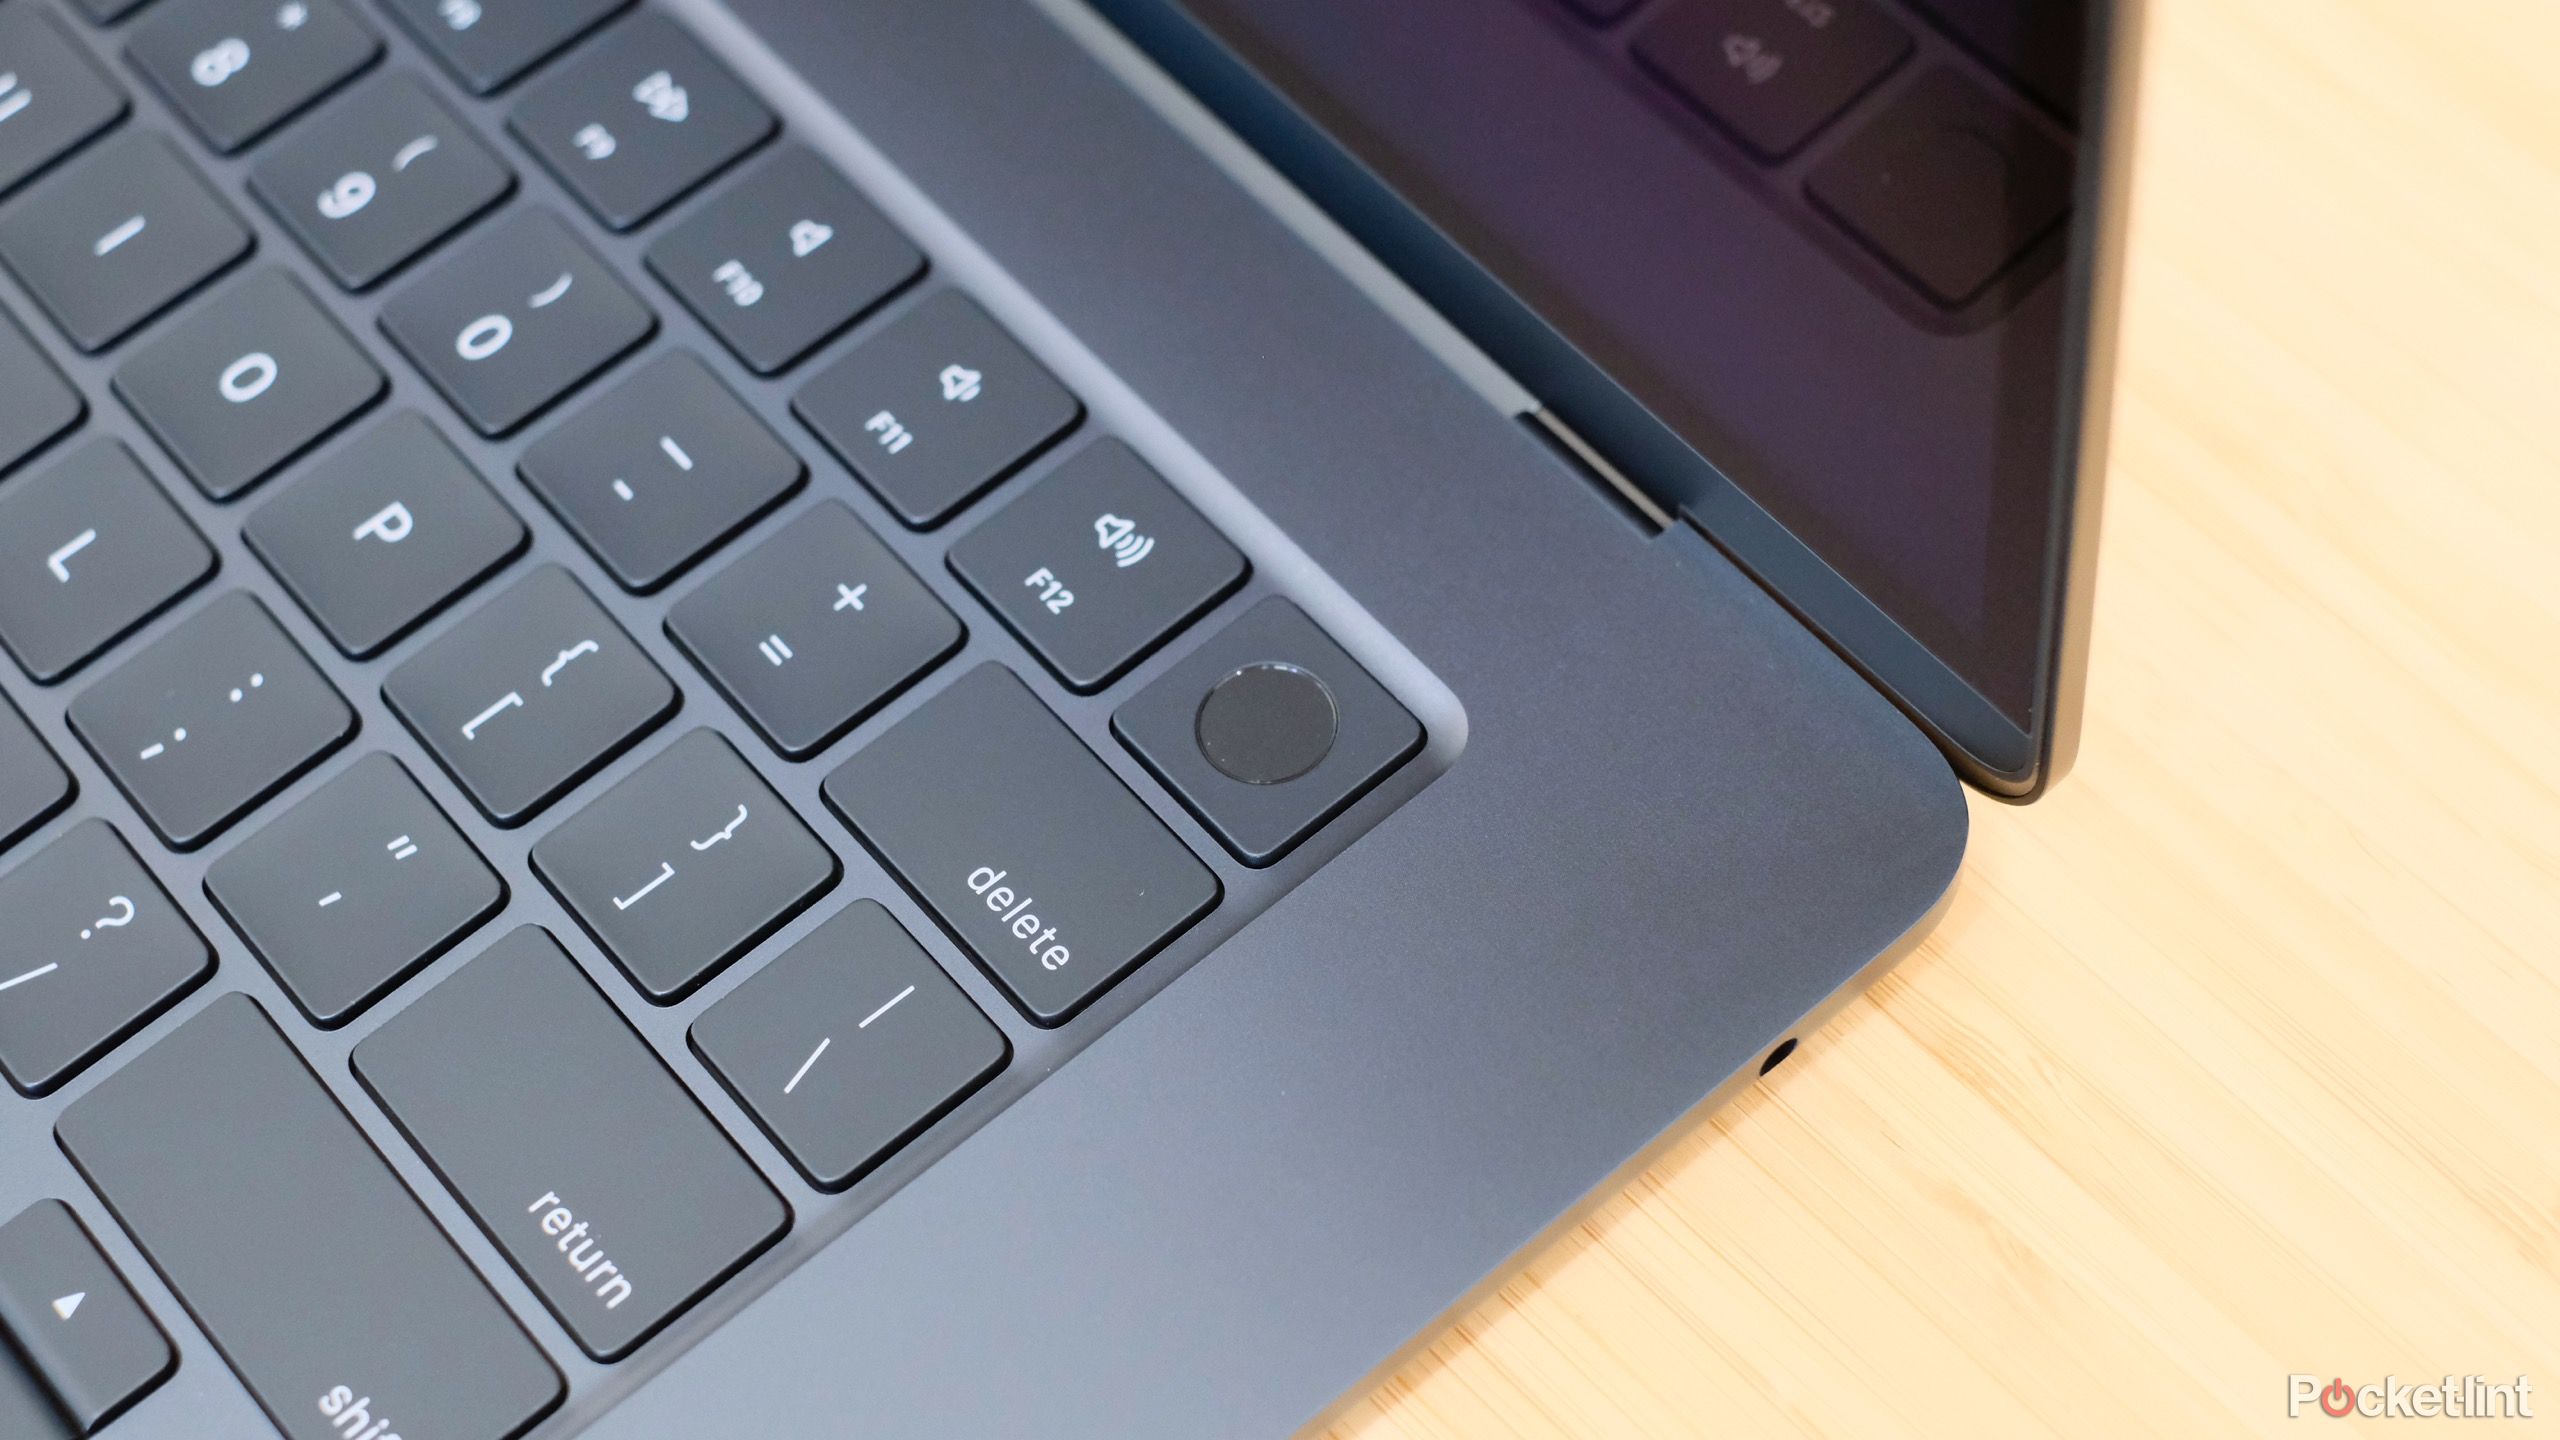
- Open Launchpad by pressing the Launchpad key (it looks like two rows of squares) or opening up Spotlight (command + space bar) and typing in “Launchpad.”
- Find the apps you want to delete (you can use the search bar at the top if that’s quicker).
- Long click on the app until a small “x” appears in the top left corner of the app icon.
- Click on the “x” and the app will be uninstalled and deleted.
Much to Apple’s chagrin, there are plenty of other ways to get apps on your Mac, so even if an app appears in the Launchpad, it might not be able to be deleted there. For the apps you’ve downloaded off the web or installed off a disc (rare, but not impossible), there are three options:
- Search Finder for the “name of your app” and “uninstaller.” Some apps get installed alongside an uninstaller tool. You’ll need to remove them. For those apps, you can just run the uninstaller program to remove the app and any files and folders they might have made as you used them.
- You can also just go to your Applications folder in Finder and either drag the app to Trash, or right-click on the app icon and then click on Move to Trash. This won’t remove the app immediately, but it will once your Trash is emptied.
- Use a Mac cleaning tool like CleanMyMac X. It makes it easy to select apps and files to delete, and can scan and remove malware you might not know about on your computer. These kinds of apps cost money (sometimes monthly) but there’s typically a free version or a trial you can try that will take care of the basics.
On a Windows PC, there are similarly a couple of different methods for removing apps depending on how many you want to remove at once.
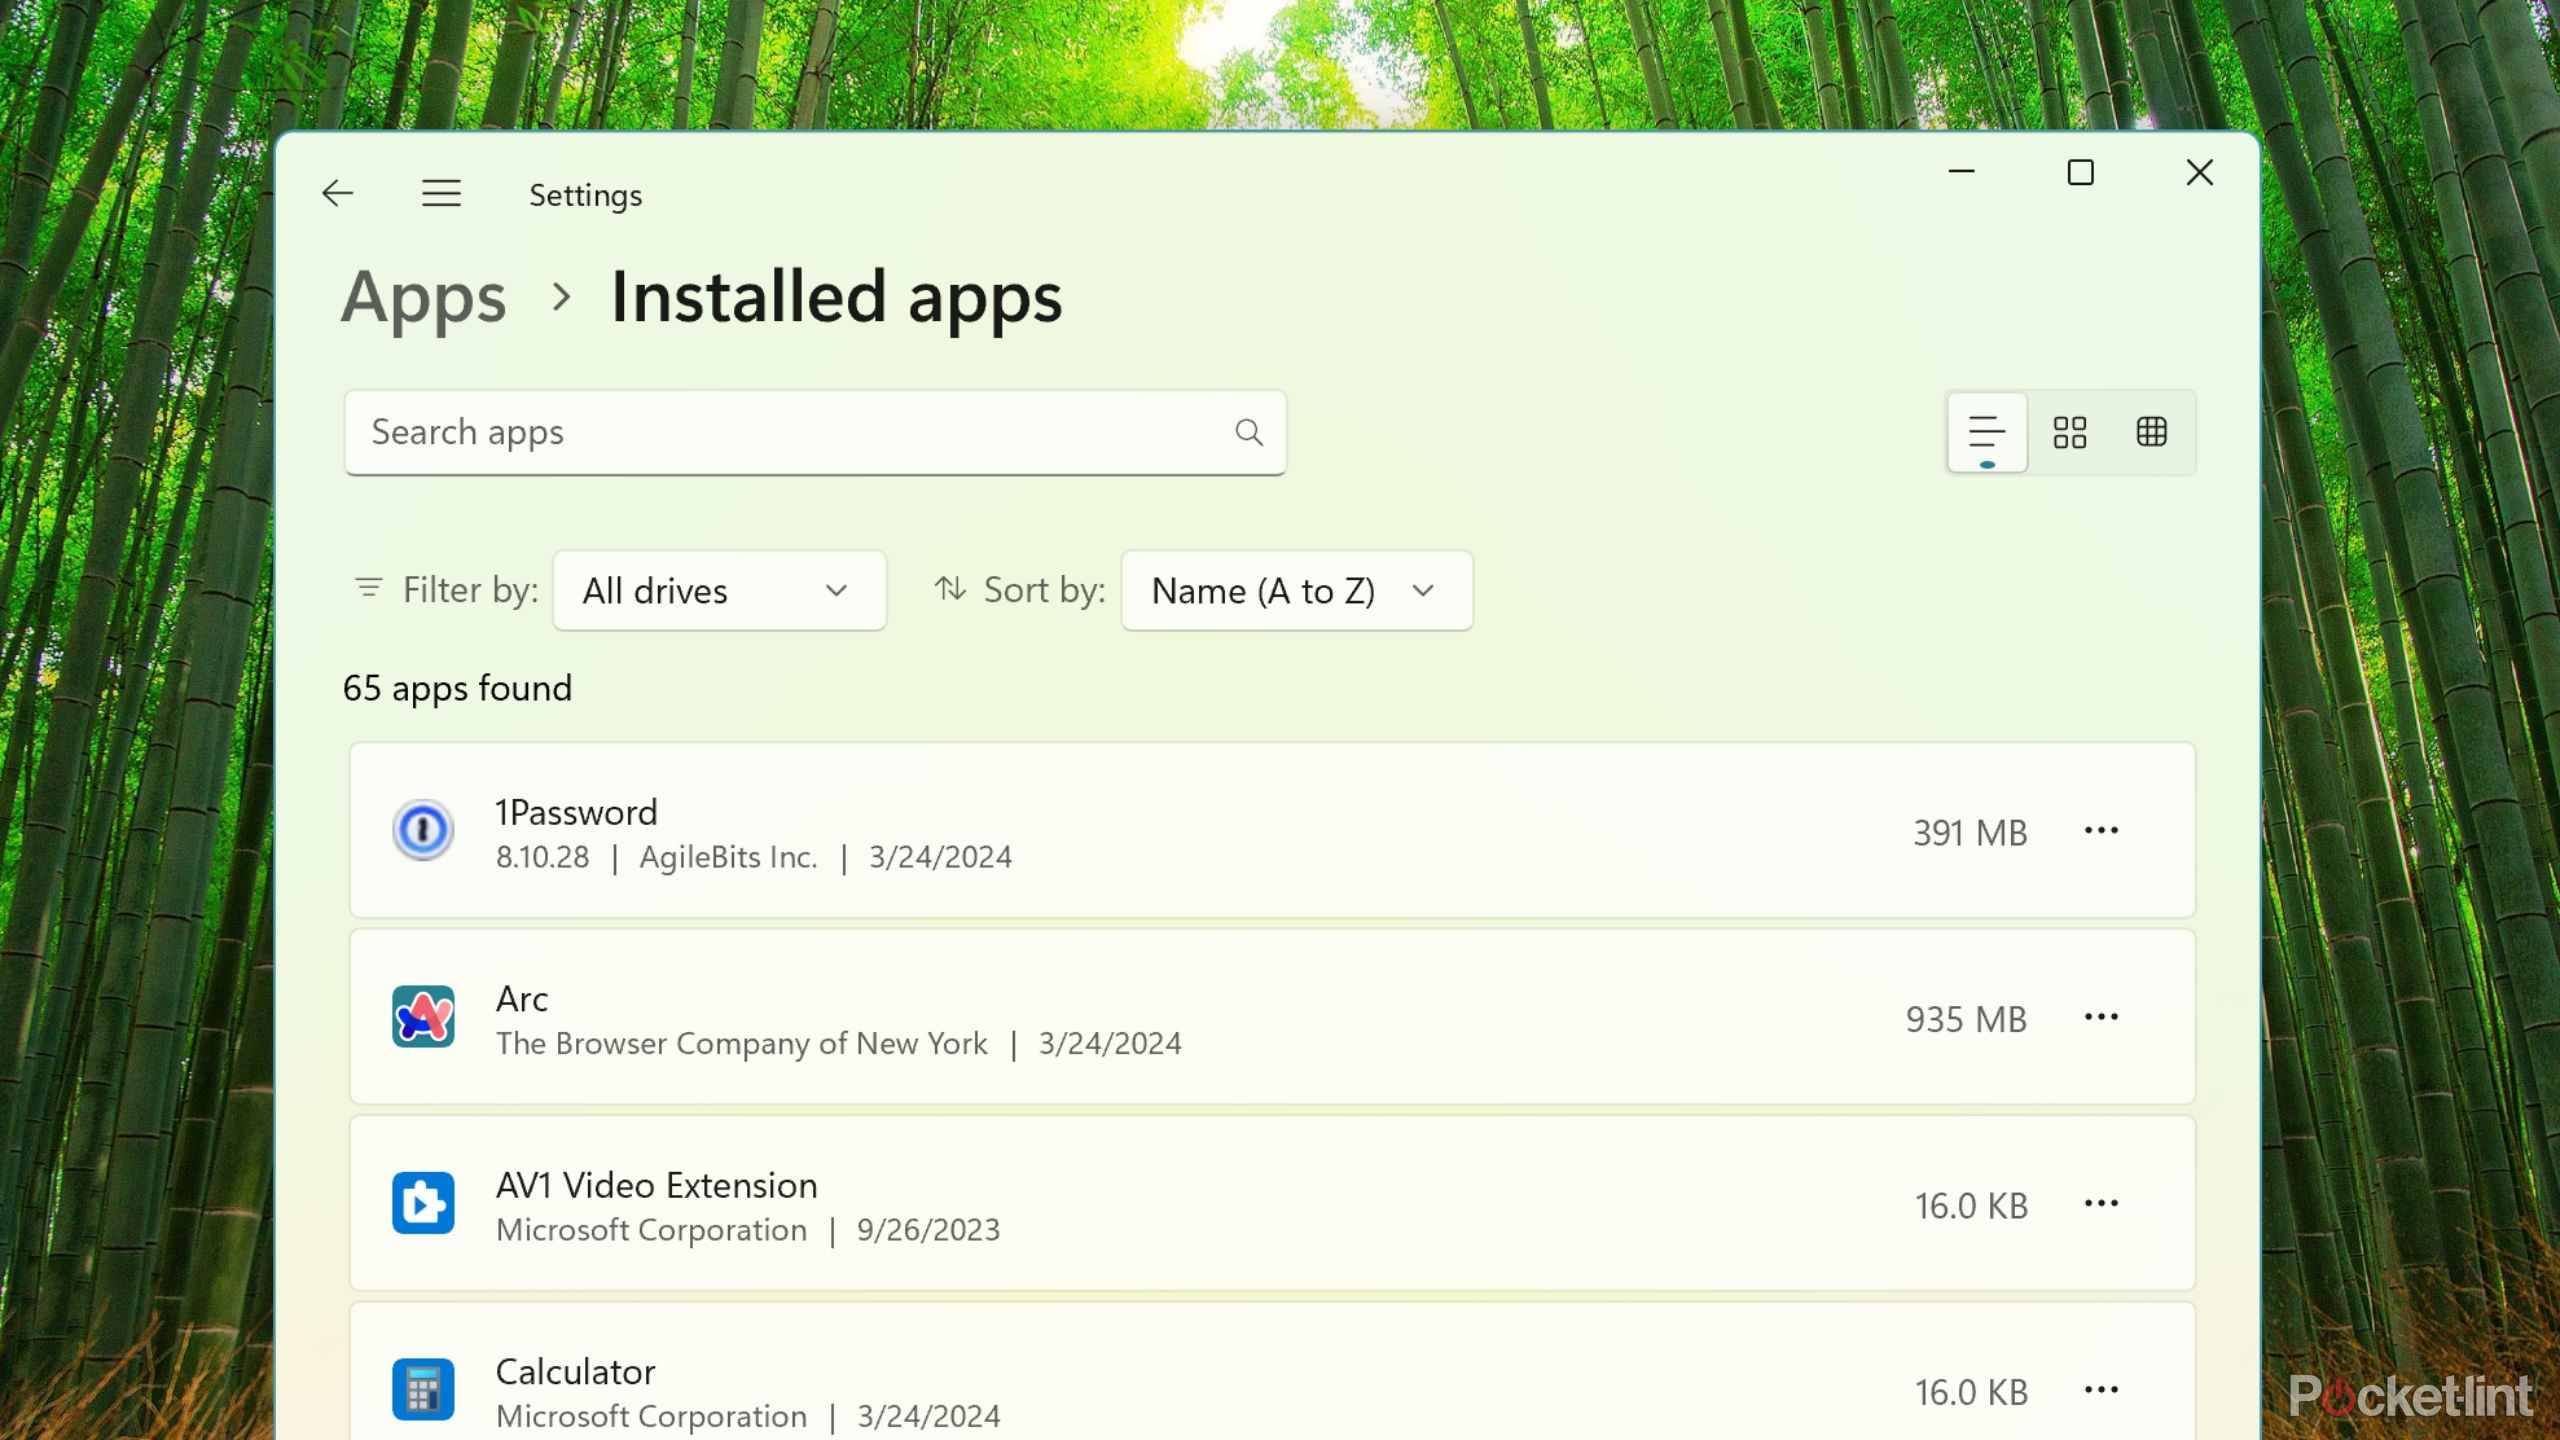
On a PC, the simplest method you can do straight from the Settings app:
- Click onStart (the Windows icon) and then click on Settings (the gear icon).
- Click on theNavigation menu (three horizontal lines) at the top left of the Settings app, and then click on Apps.
- Select Installed apps.
- Find the apps you want to remove by sorting the app list (you can sort by date or search in the search bar.)
- Click on the three-dot menu on the right side of each app listing, then click Uninstall.
You can also use the older, but still usable, Windows Control Panel. This is especially handy if you’re running an older version of Windows that doesn’t give you easy access in Settings like Windows 10 and 11 do.
- Find and open the Control Panel app using the Start menu.
- Under the Programs section, click on “Uninstall a program.”
- Sort through your apps and double-click on the ones you want to uninstall.
- Follow any on-screen prompts to remove the apps.
Dedicated cleaning tools are also available for Windows, and much like the Mac ones, they typically cost money unless you’re willing to use a more limited or trial version.
How to remove photos and videos from your laptop
Other than applications, photos and videos are bound to be the items that take up the most space on your laptop’s hard drive. If you’re not already using a cloud service to store them, using Google Photos, iCloud, or OneDrive to back them up can give you some peace of mind before you go to town deleting things.
On Mac, the most straightforward way to delete photos and videos is through the Photos app:
- Open the Photos app (the abstract flower icon) by clicking on it in the Dock or pulling it up with Spotlight (command + space).
- Sort through photos by when you took them, where they were taken, or who’s in them. Alternatively, you can go to the View menu, then Photos, and then Duplicates to just see photos and videos you have multiple copies of.
- Click or control-click on one photo/video or multiple to select them.
- Right-click on the selected photo(s) or video(s) you want to remove and then select Delete.
That’s still a highly manual process and doesn’t account for the other images or video files you have on your laptop.
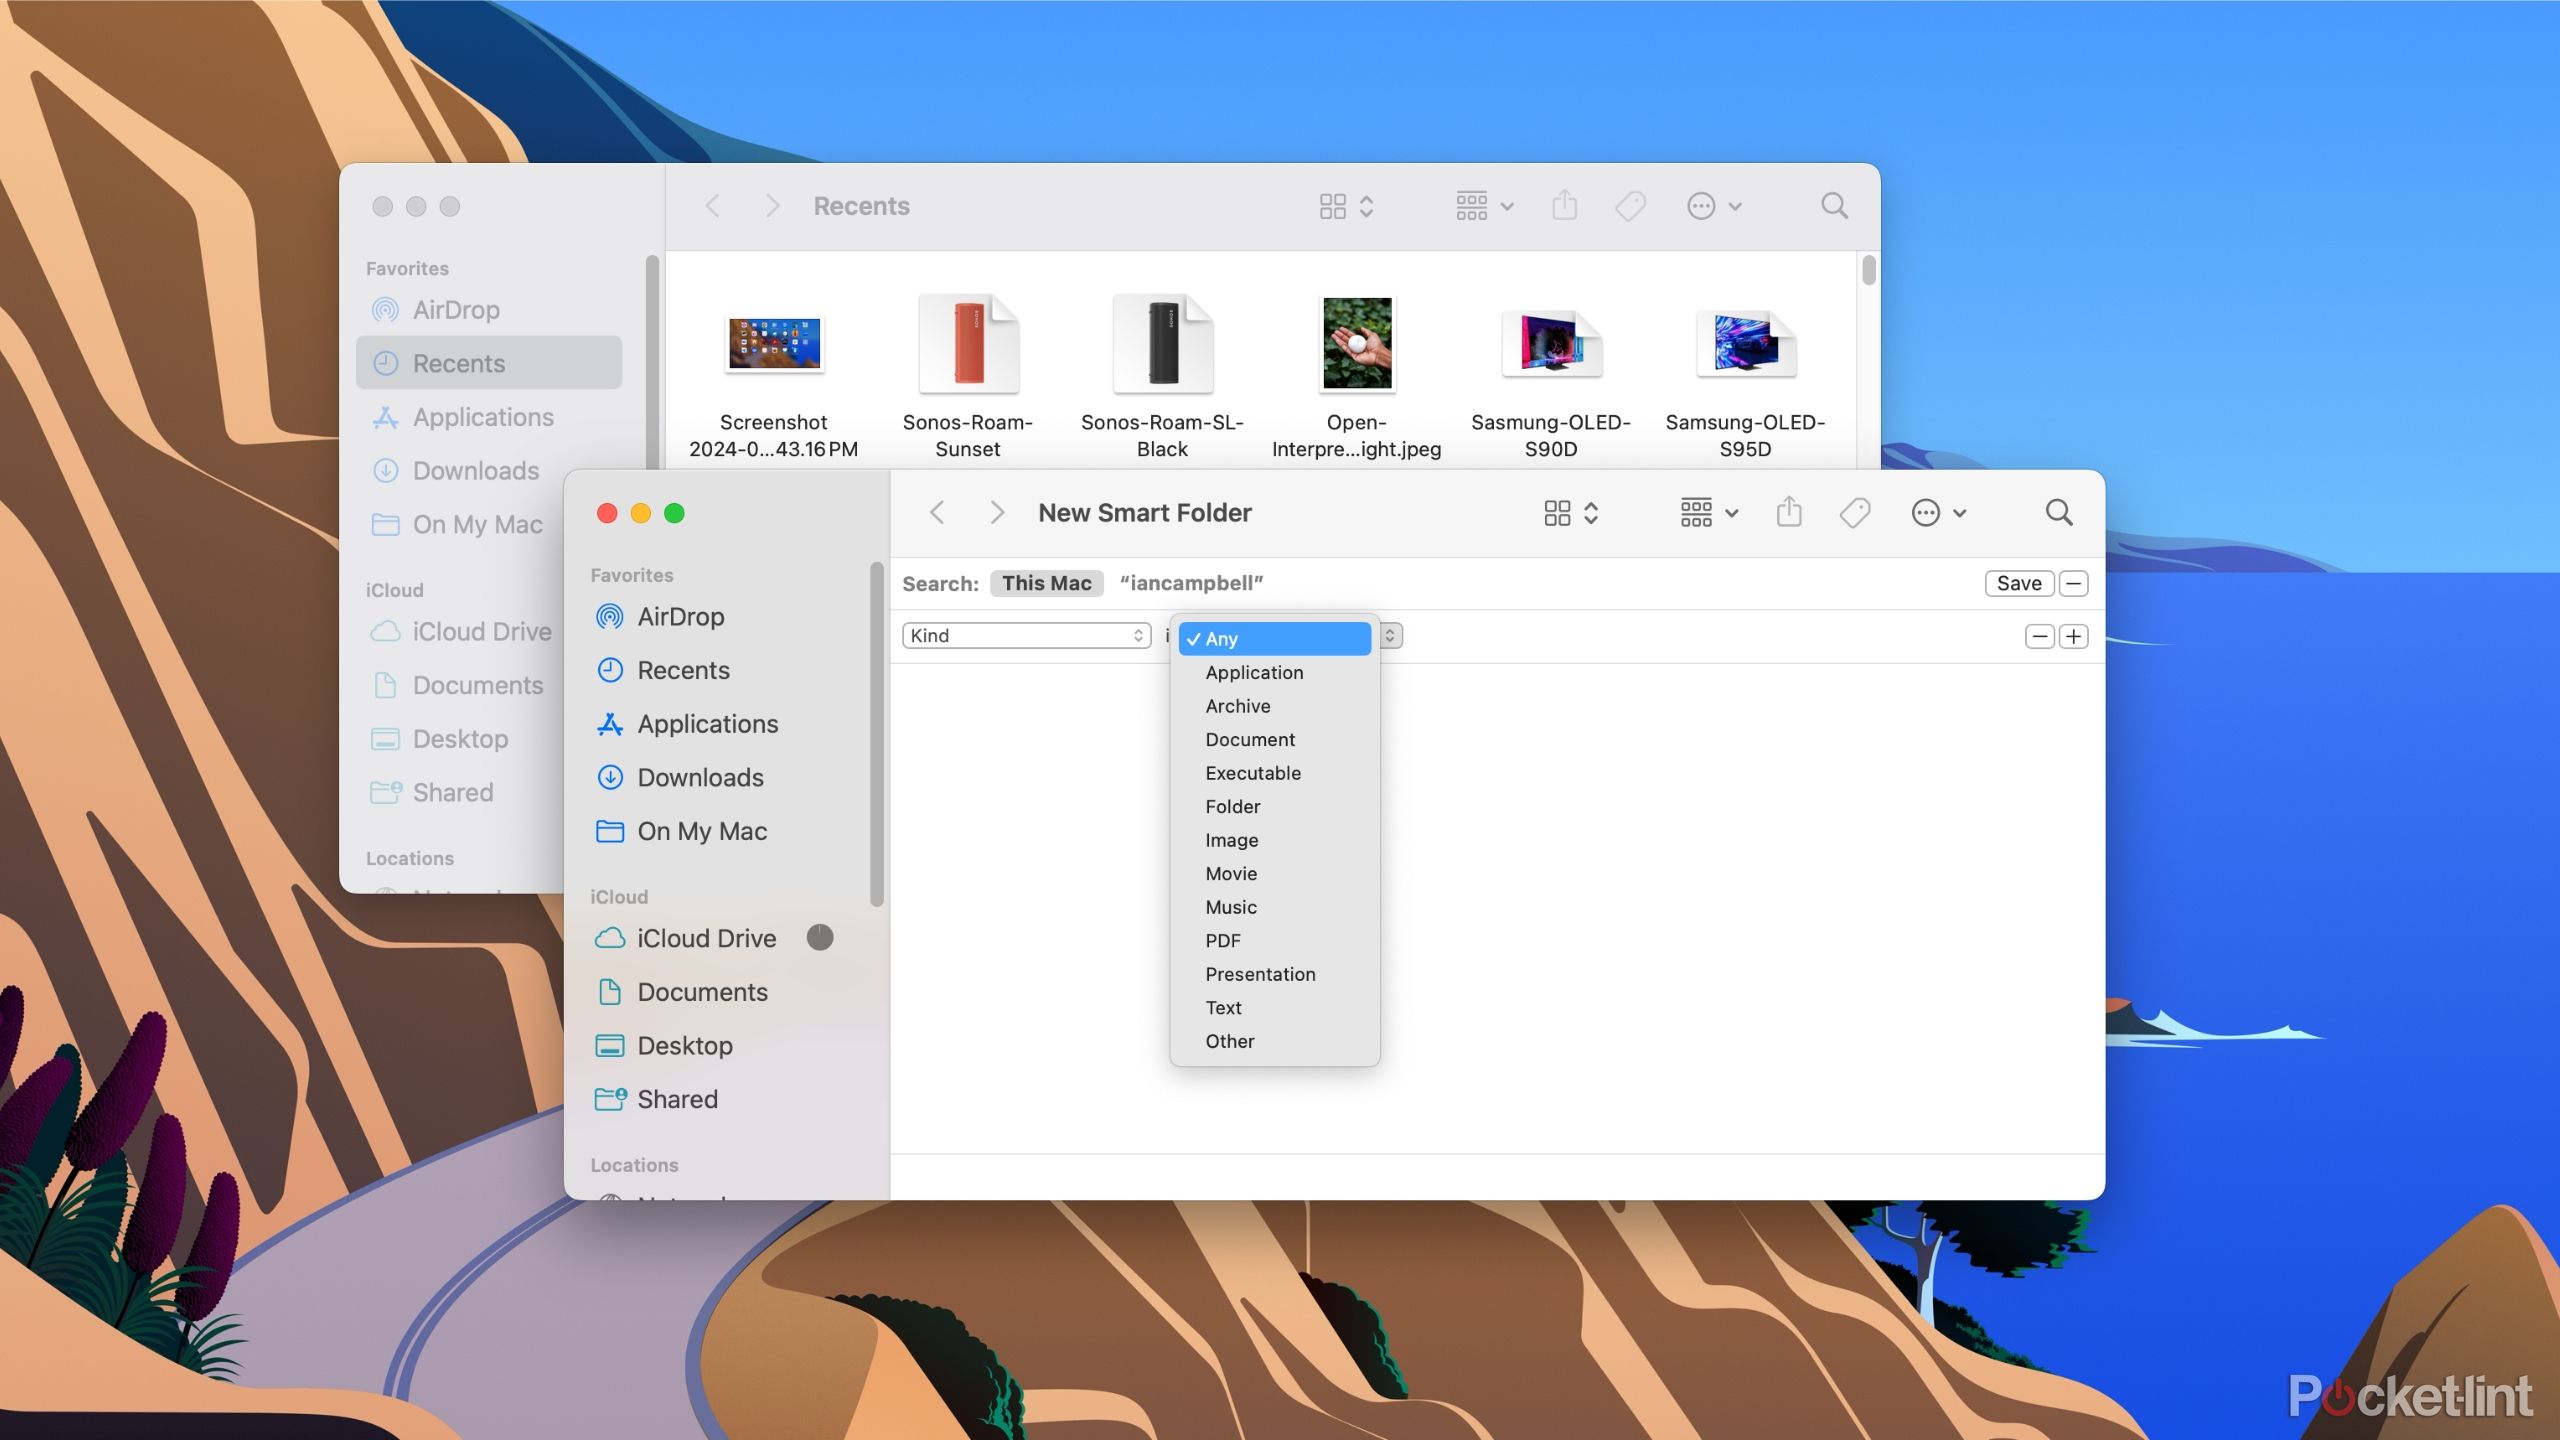
To capture all the images and video files on your laptop you’ll need to use the Finder:
- Open Finder.
- Go to the File menu and then click on New Smart Folder.
- Click on the “+” icon.
- Set the second drop-down menu (it defaults to Any) to Image.
- This will create a folder of all the images on your laptop (you can even sort it by file type) that you can use to delete the image files that the Photos process missed.
You can do the same thing and choose Movie rather than Image to get a Smart Folder of all the video files on your laptop in one place so that they’re easier to delete.
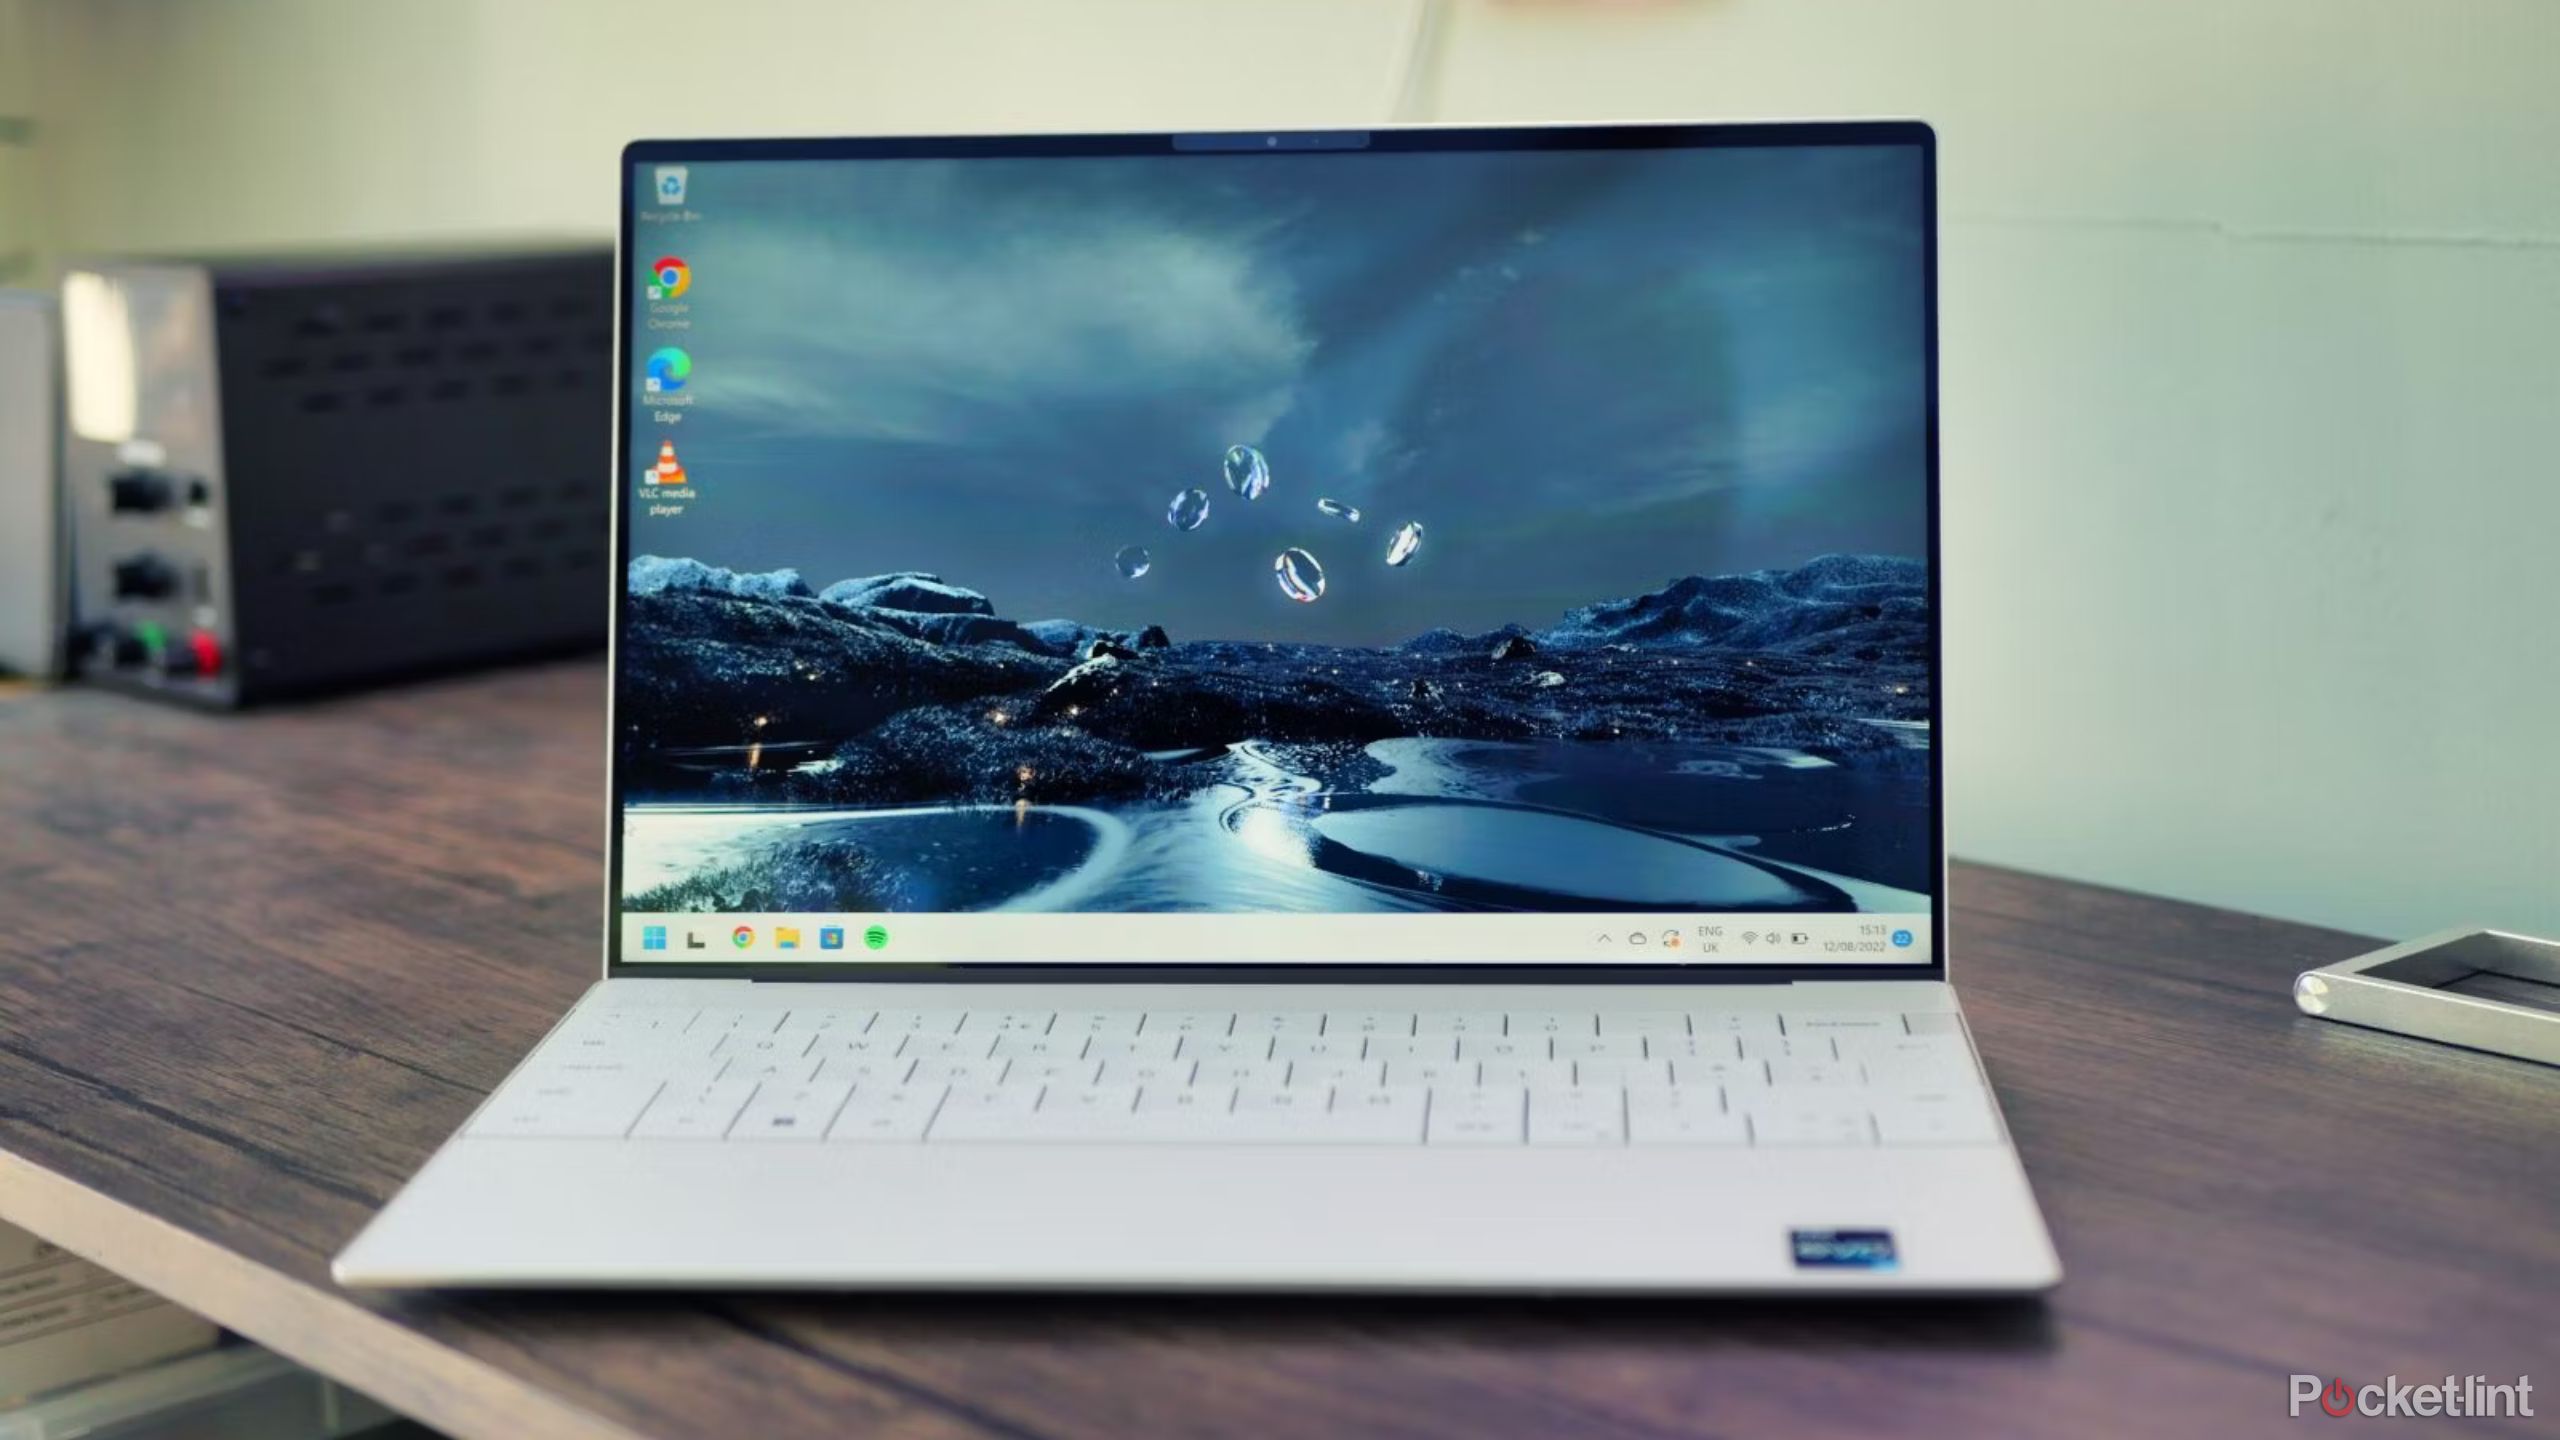
Did your taskbar disappear in Windows 11? Here’s why and how to fix it
The Windows 11 taskbar is a key part of everyone’s workflow. But it can randomly go missing sometimes. Here’s how to troubleshoot and restore it.
On a Window PC use Windows’ own Photos app:
- Open the Photos app using the Start menu.
- Using the Filter menu in the top right of the app, sort through photos or videos.
- Click on an individual file or control-click to select multiple photos or videos.
- Right-click and then select Delete to remove the photos or videos.
File Explorer can get the rest of the images and video files you might have missed in the Photos app.
- Open File Explorer using the Start menu.
- Click on the Pictures folder from the sidebar.
- Dive into individual folders (Saved Pictures, Screenshots, etc.) to find other images you might have missed.
- Select multiple with a control-click or right-click on individual files and select Delete to remove them.
You can do the same thing by swapping the Movies folder in for the Pictures folder to find and remove any lingering video files still on your hard drive.

6 easy ways to take a screenshot on Windows laptops and PCs
All the different ways to take a screenshot on Windows, and when to use them.
How to organize and remove miscellaneous files
If you’ve removed the apps you don’t need and any photos or videos that are already safely backed up somewhere else, there still might be leftover files and folders taking up space.
On a Mac, unless you’re using a dedicated cleaning tool, removing leftover documents and files is still manual. There are still a few tips worth trying:
- In the Documents section in the sidebar in Finder, you can sort files by Date Last Opened, which should give you an indication of whether you actually read or use them often.
- If your desktop is still cluttered with files and folders, macOS can automatically sort and organize them for you. Right-click on an empty part of your desktop and select Stacks to have files automatically sorted by the criteria of your choice.
- Don’t forget to empty your Trash to make sure the apps and files you want to remove are actually deleted instead of hidden from view.
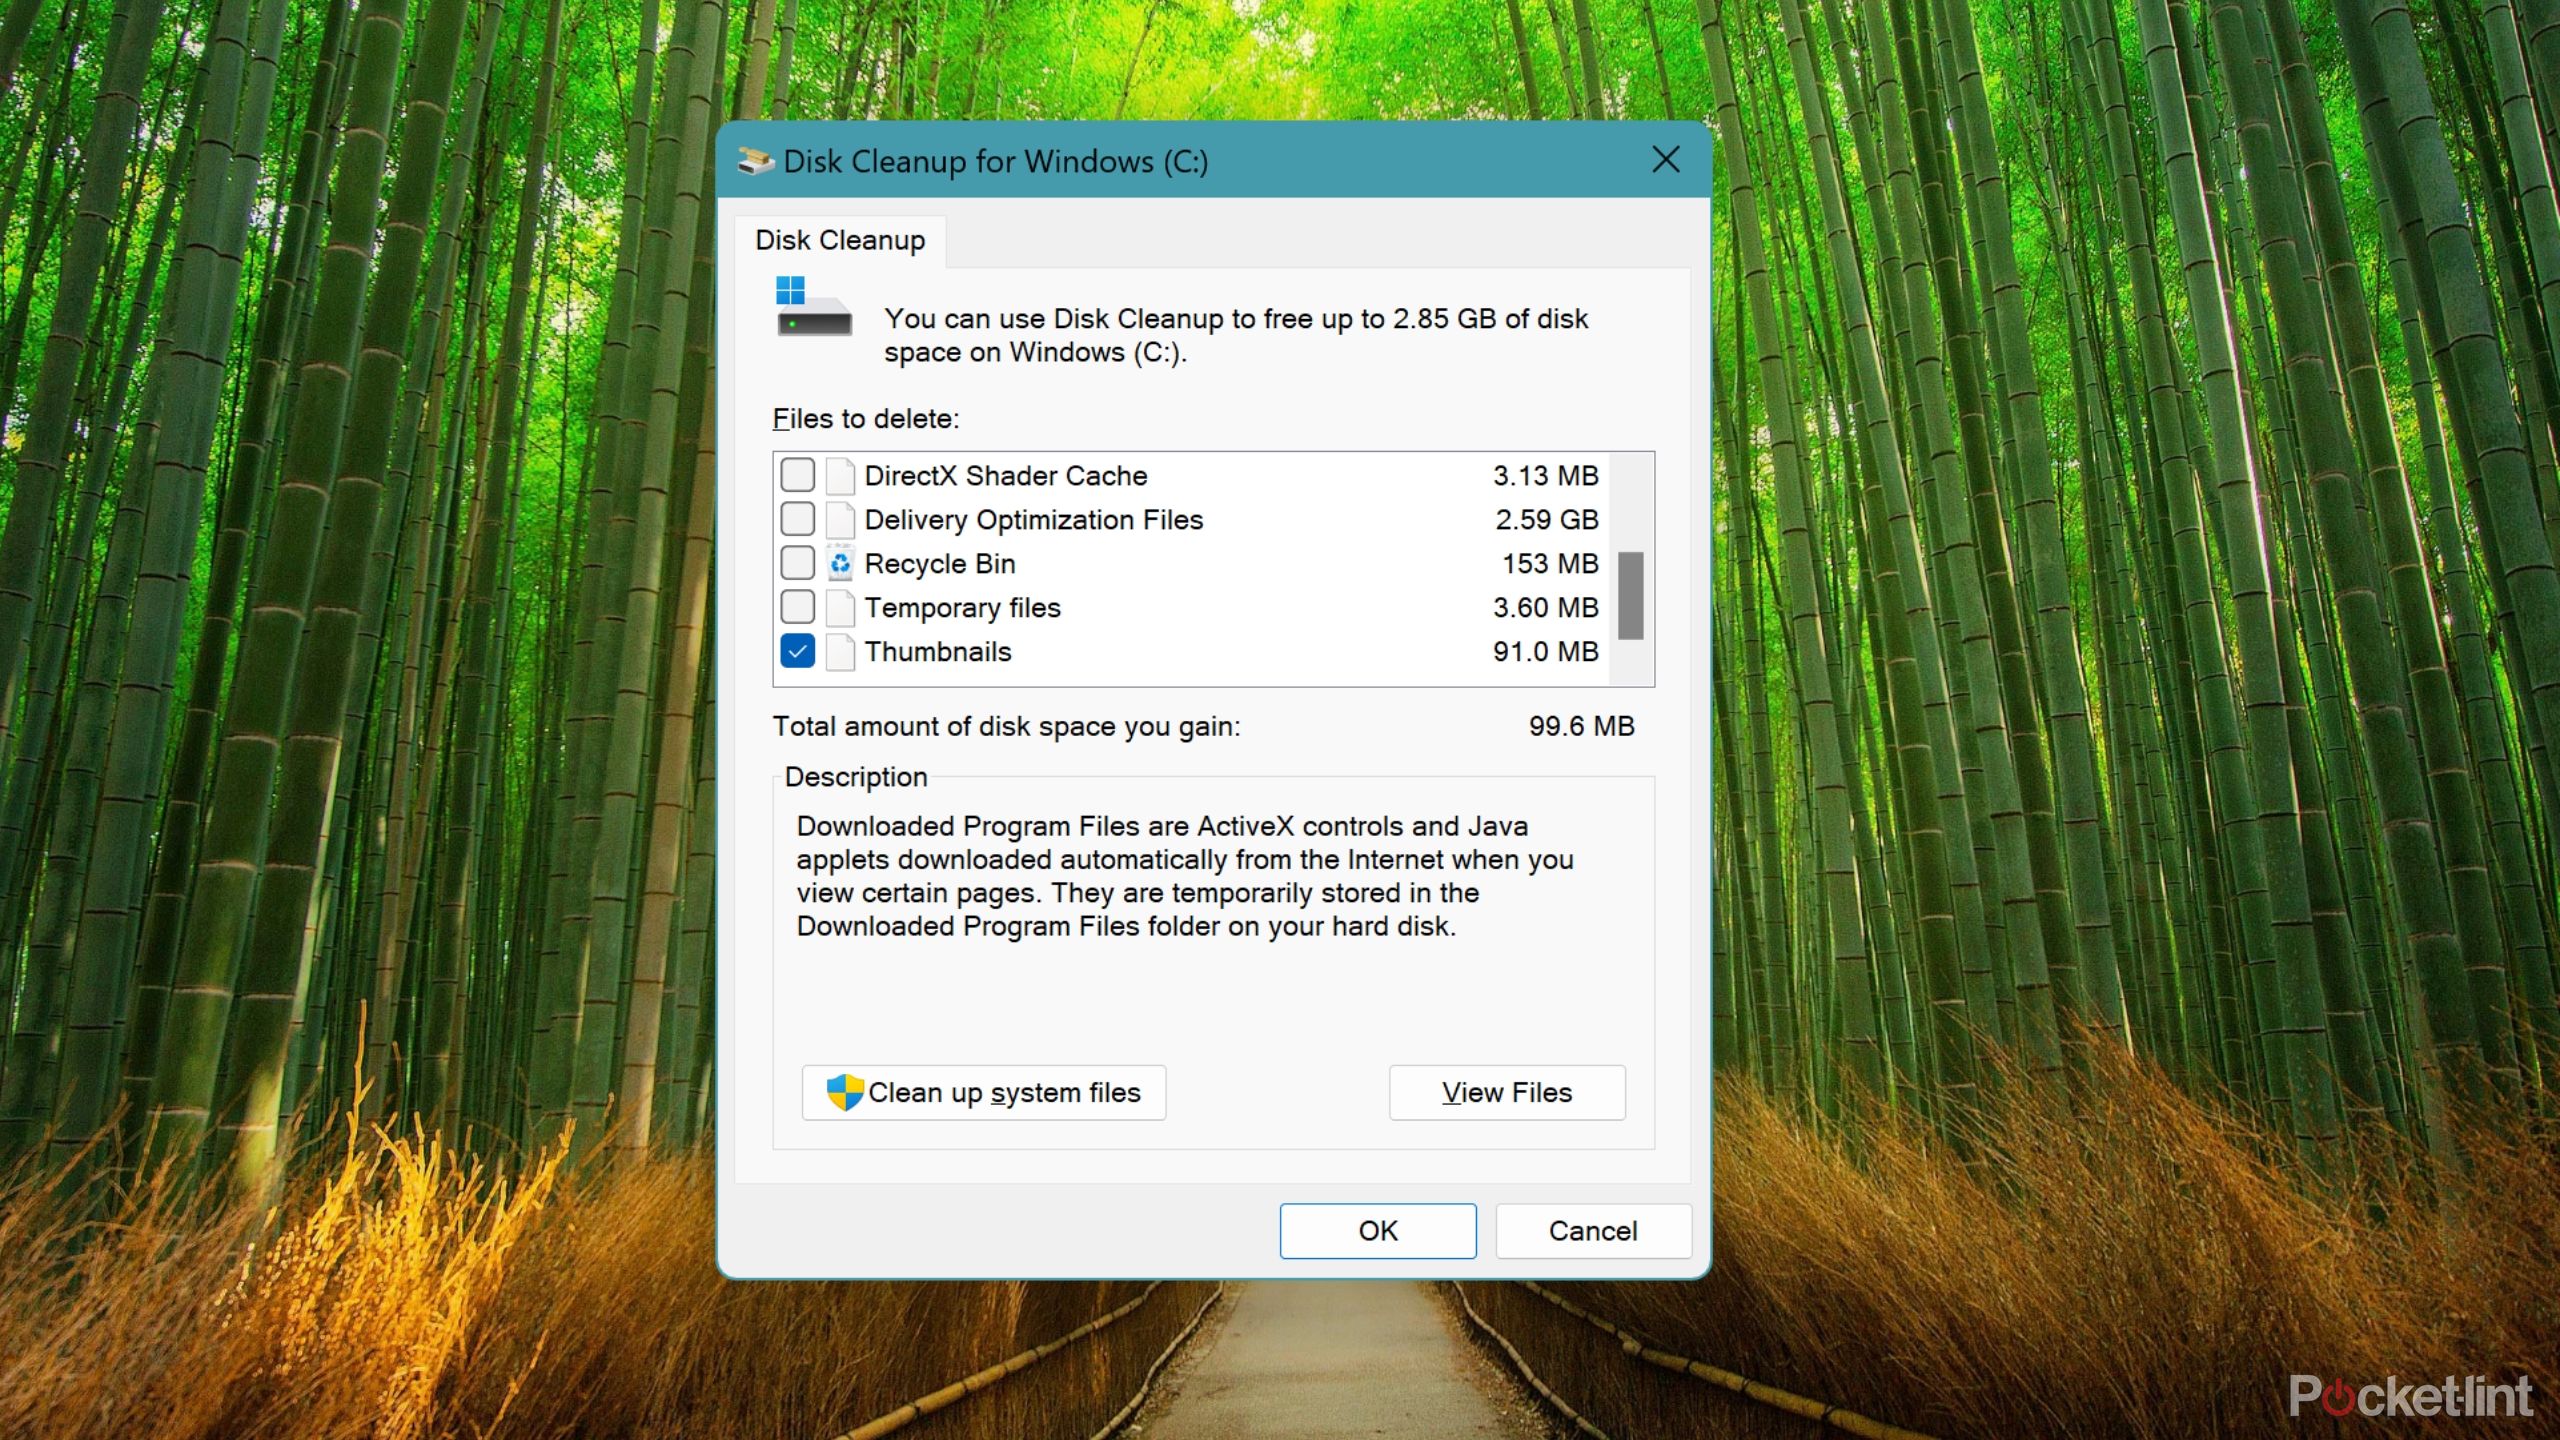
On Windows, the process of removing leftover files can at least be partially automated thanks to the Disk Cleanup feature built into Windows. And, of course, File Explorer makes it simple to sort through any remaining files on your laptop too.
- Open Disk Cleanup by launching it from the Start menu.
- Select the drive on your laptop that you want to clean and then click “Okay.”
- Pick out the files that you want to delete, and then click “Okay.”
- Click “Clean up system files” and select other files you want to delete.
- Continue the process until you’ve removed everything you don’t need.
 How to remove dust and grime from your laptop
With the digital part of your laptop in a better state, now you can turn to the physical components. No matter how clean your own hands are, the keyboard and display of laptops are natural magnets for oil, dust, and dirt. It’s unavoidable that your computer is going to become gross eventually. It’s a matter of when, not if. Because they’re expensive electronics, you do want to be careful cleaning your laptop, though, and make sure it’s entirely off before you start cleaning.
How to clean your screen
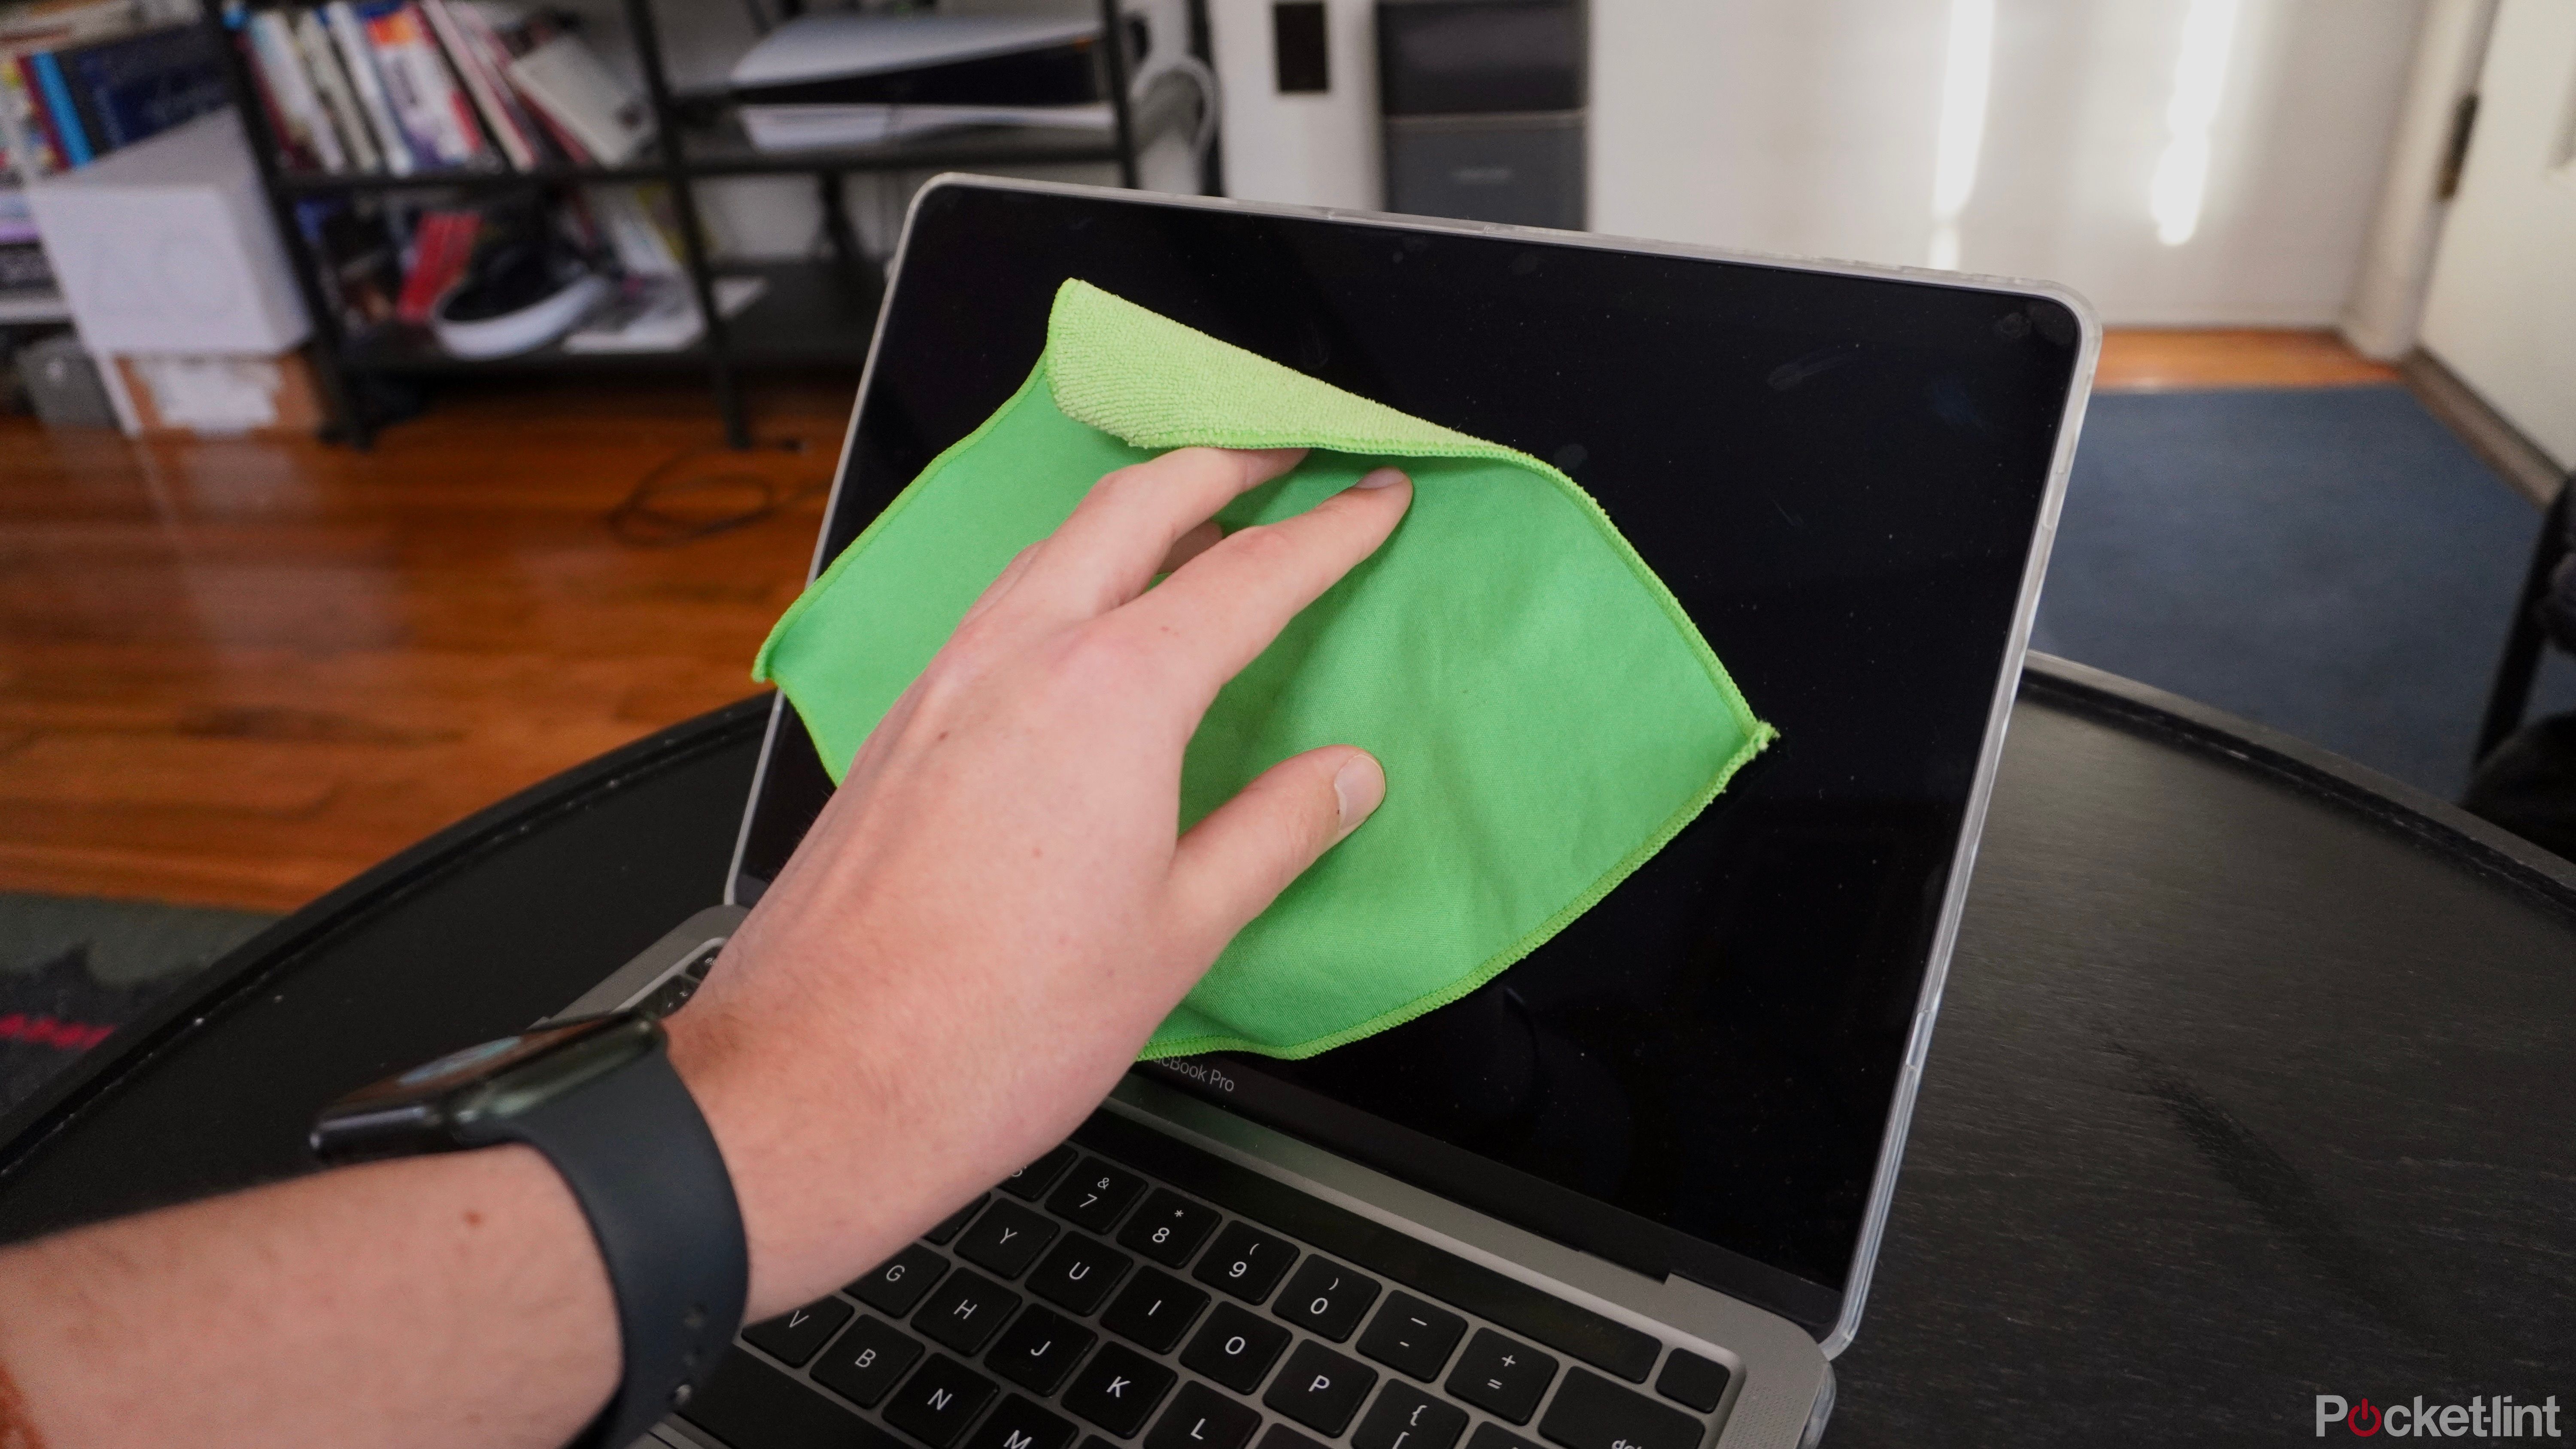
Many laptop displays are coated with an oleophobic coating so that they’re less likely to collect fingerprints, which means using cleaning sprays with a high alcohol content could damage the screen. Your best bet is to use a clean, lint-free microfiber cloth to wipe away any visible streaks or smudges, just by repeatedly rubbing the cloth on your display.
Laptop displays are coated with an oleophobic coating so that they’re less likely to collect fingerprints, which means using cleaning sprays with a high alcohol content could damage the screen.
For any hard-to-clean fingerprints, you can lightly dampen the cloth with water and try going over the patches again to see if that helps. If there’s still leftover residue once your display dries, try spraying a 70% isopropyl alcohol solution on the microfiber cloth and going over your display a third time to take care of the rest.
How to clean your keyboard
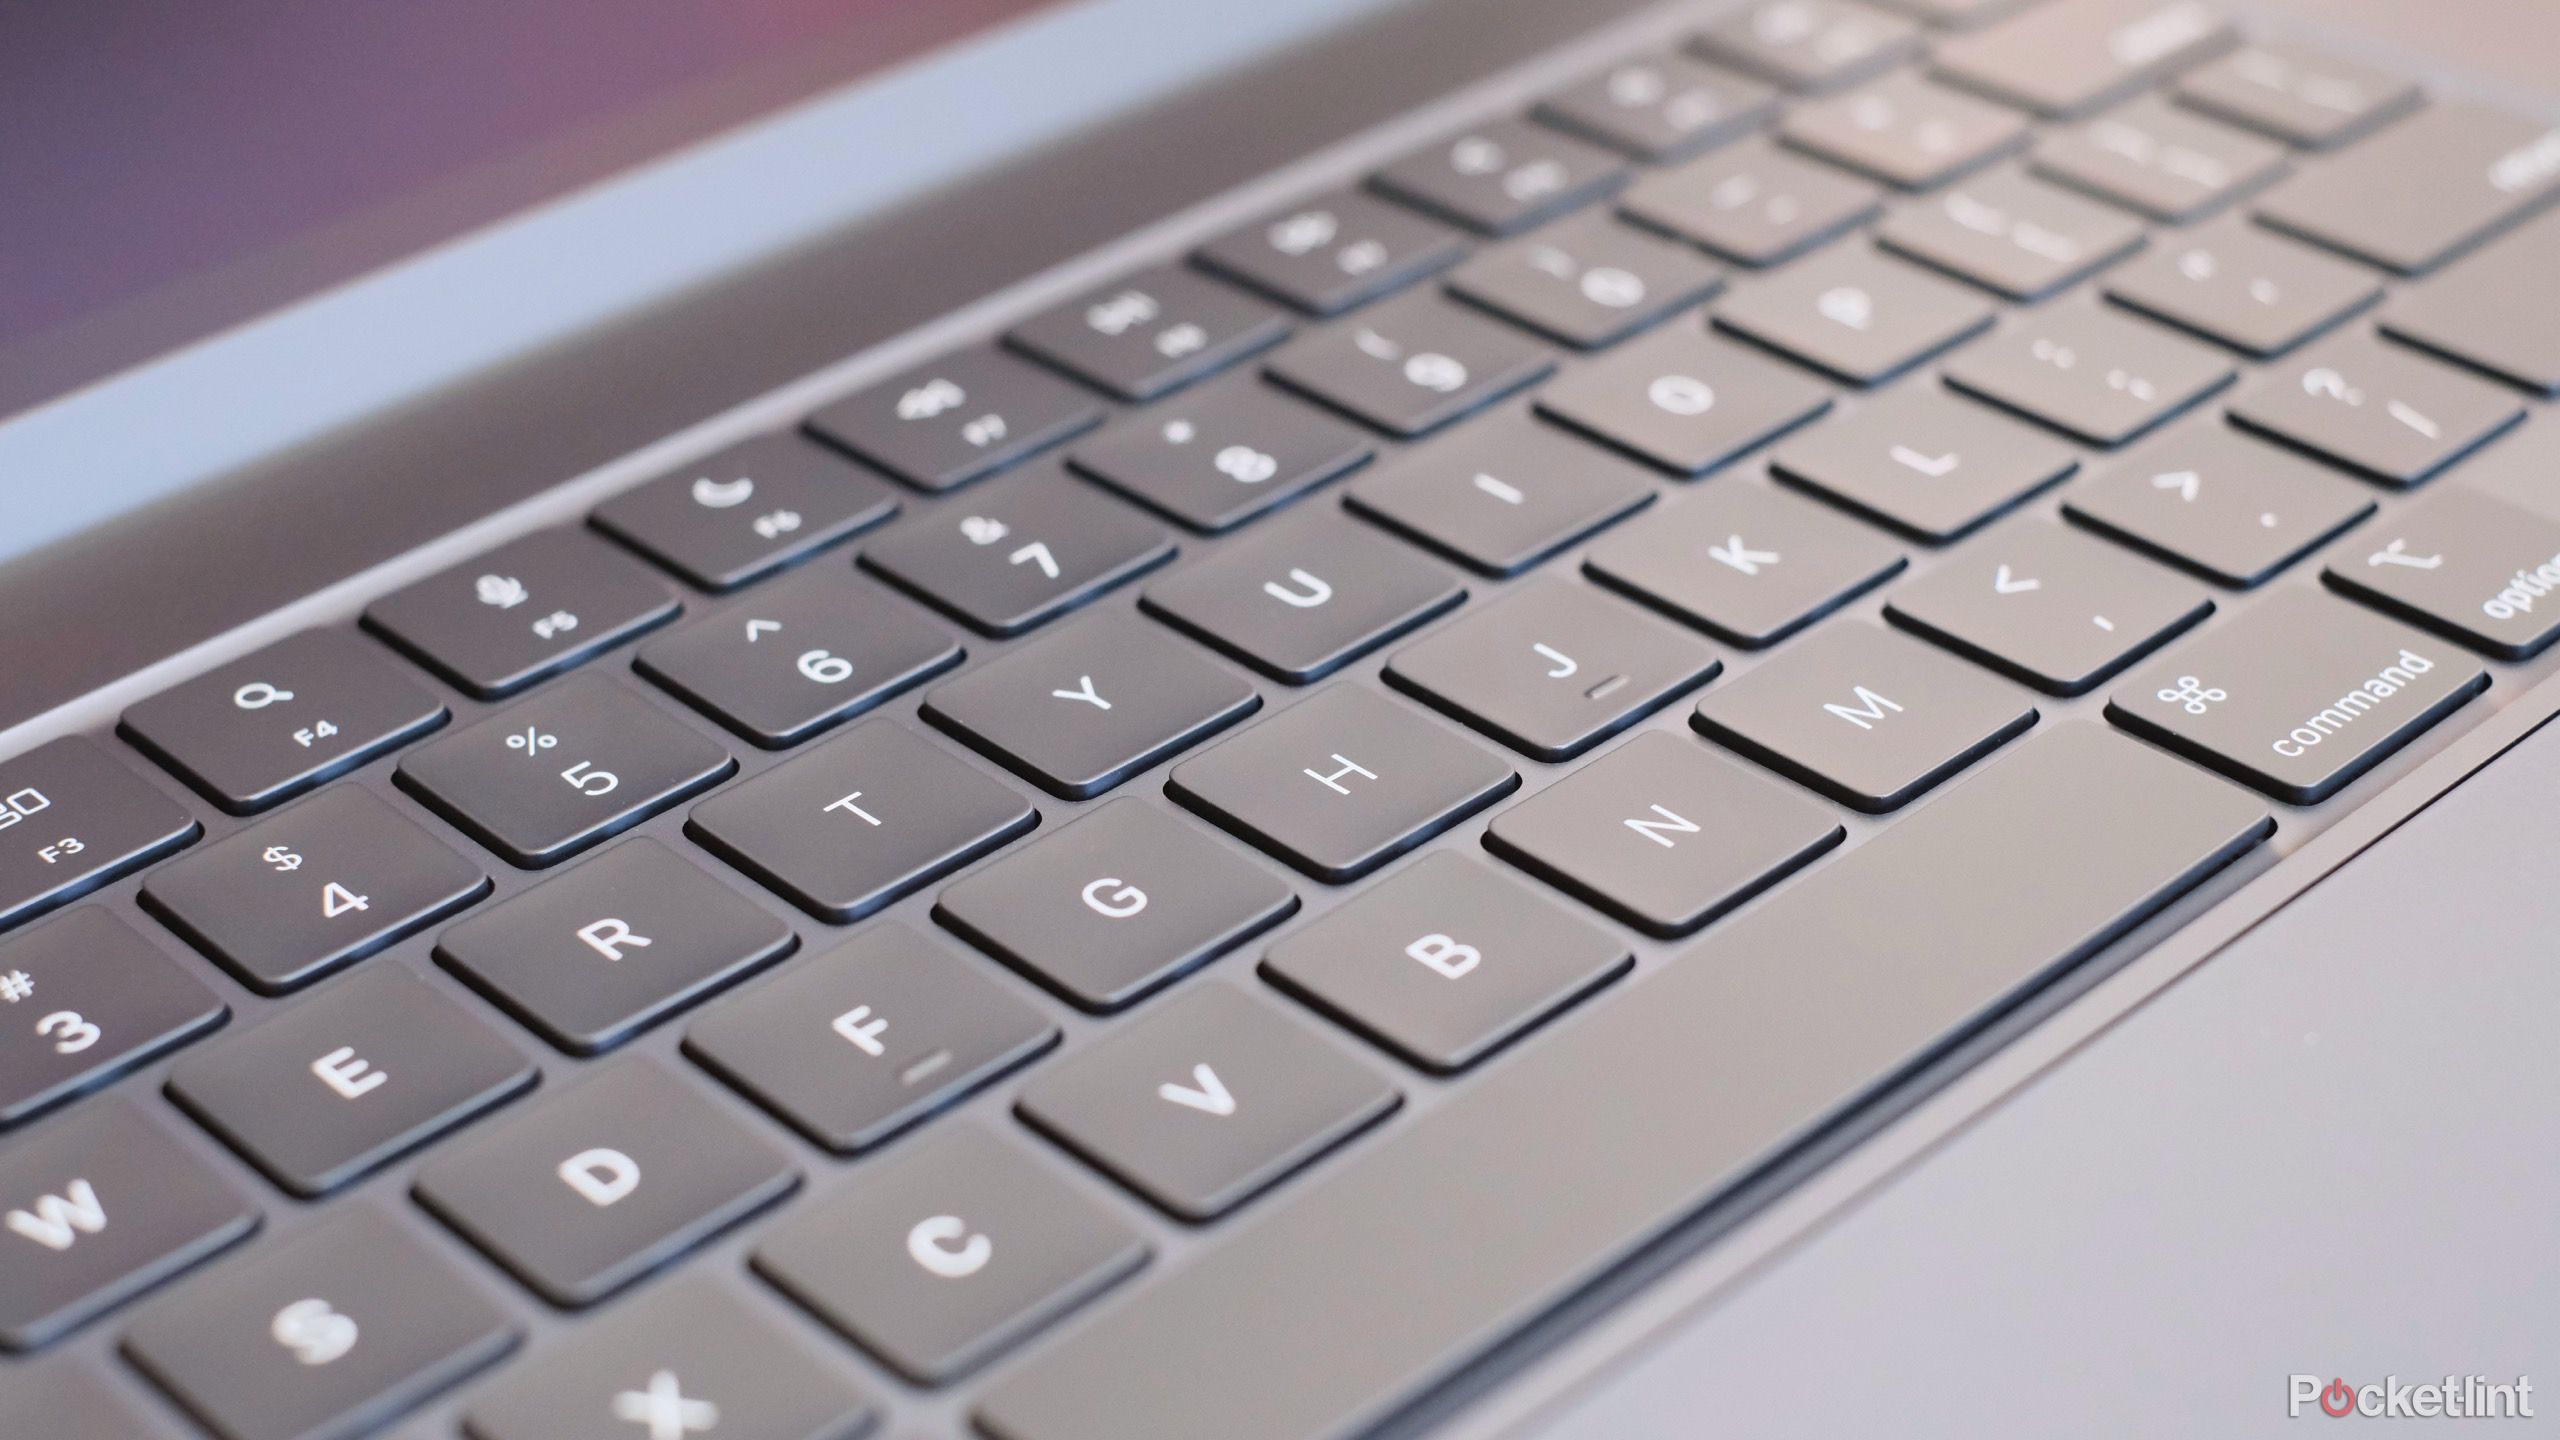
Keyboards are seemingly designed to collect crumbs and cleaning requires patience and care, so you don’t brush dirt and dust inside your laptop rather than just between your keys.
In general, compressed air is a recipe for getting crumbs shoved inside your laptop — if you’re going to use them, spray at an angle rather than straight down.
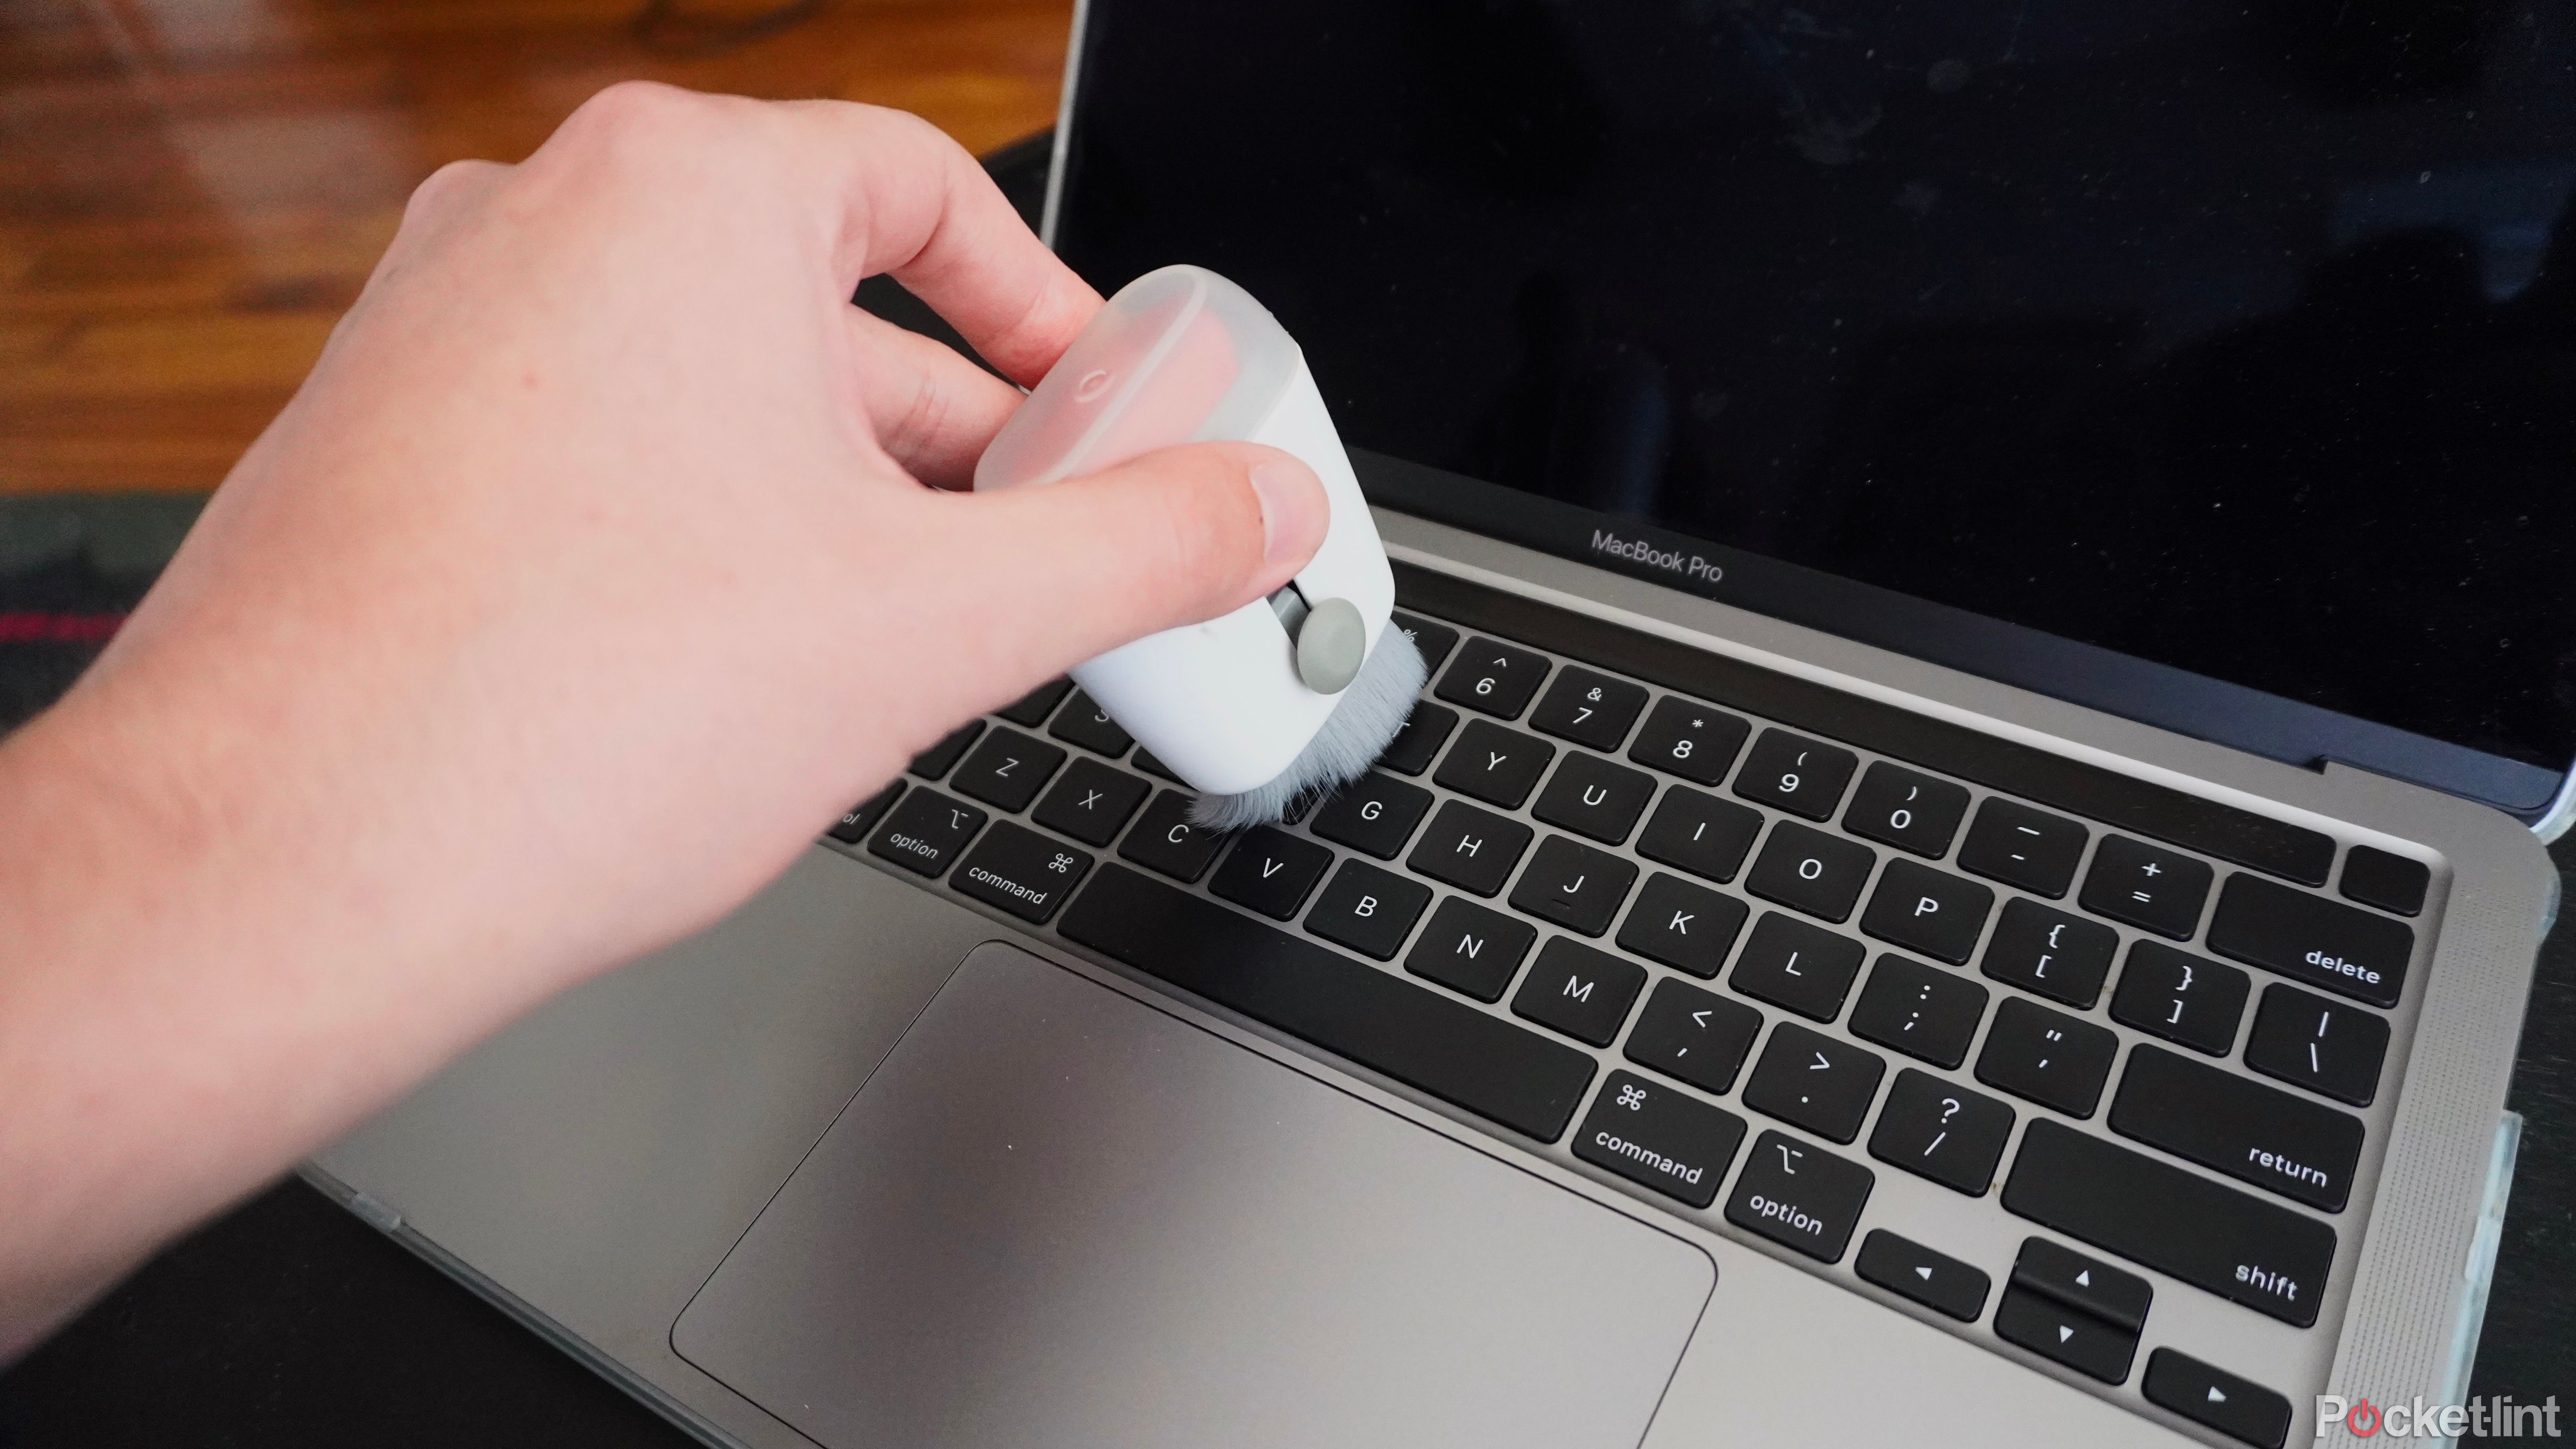
A safer option is to brush dust out using a soft makeup brush that can fit between keys and direct crumbs out rather than in. Once you’re satisfied there’s no more dust to remove, you can wipe around the keyboard with a damp microfiber cloth to remove any remaining grime or dirt.
Trending Products

Cooler Master MasterBox Q300L Micro-ATX Tower with Magnetic Design Dust Filter, Transparent Acrylic Side Panel…

ASUS TUF Gaming GT301 ZAKU II Edition ATX mid-Tower Compact case with Tempered Glass Side Panel, Honeycomb Front Panel…

ASUS TUF Gaming GT501 Mid-Tower Computer Case for up to EATX Motherboards with USB 3.0 Front Panel Cases GT501/GRY/WITH…

be quiet! Pure Base 500DX Black, Mid Tower ATX case, ARGB, 3 pre-installed Pure Wings 2, BGW37, tempered glass window

ASUS ROG Strix Helios GX601 White Edition RGB Mid-Tower Computer Case for ATX/EATX Motherboards with tempered glass…


