Key Takeaways
- ChromeOS is gaining popularity as a lightweight OS that supports web-based, Android, and Linux apps.
- The automatic clicking feature in ChromeOS can be enabled in a few steps, making it useful for accessibility and simplifying tasks.
- You can turn on various types of clicks, so the auto-click is not limited only to left-clicking for you.
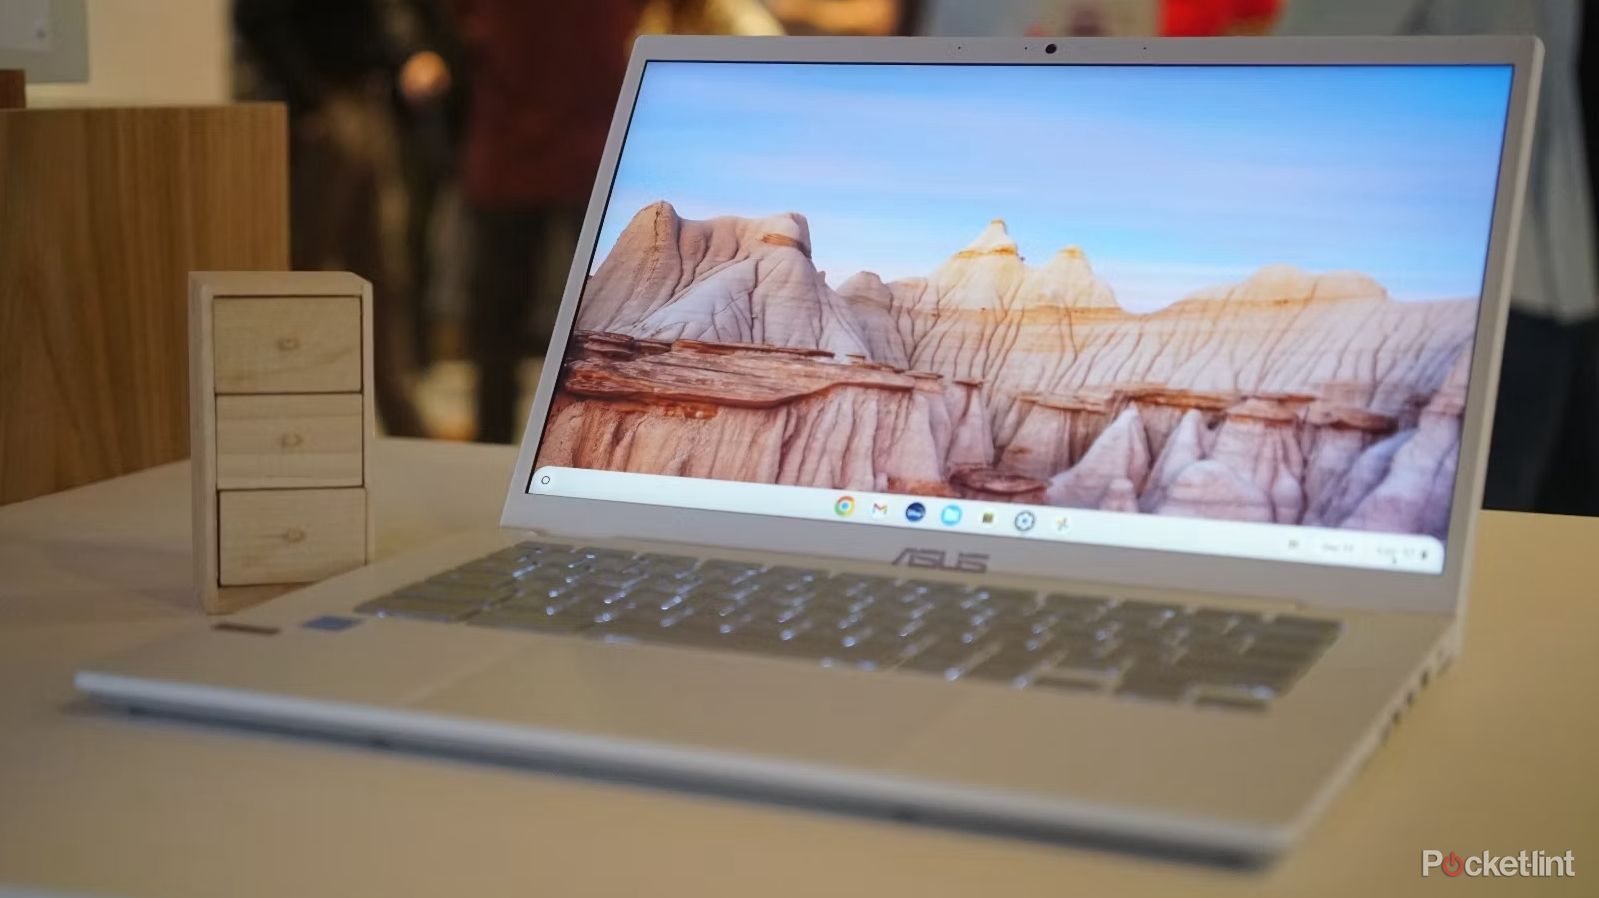
Even though if you think about desktops and laptops you probably think Windows or Mac, or maybe even Linux, there is a fourth player on the block that’s been slowly taking over in the background — ChromeOS. With the amount of great Chromebooks present in schools and in our homes nowadays, many young people’s first laptop experience is with machines powered by Google’s OS, and not the obvious big guns.
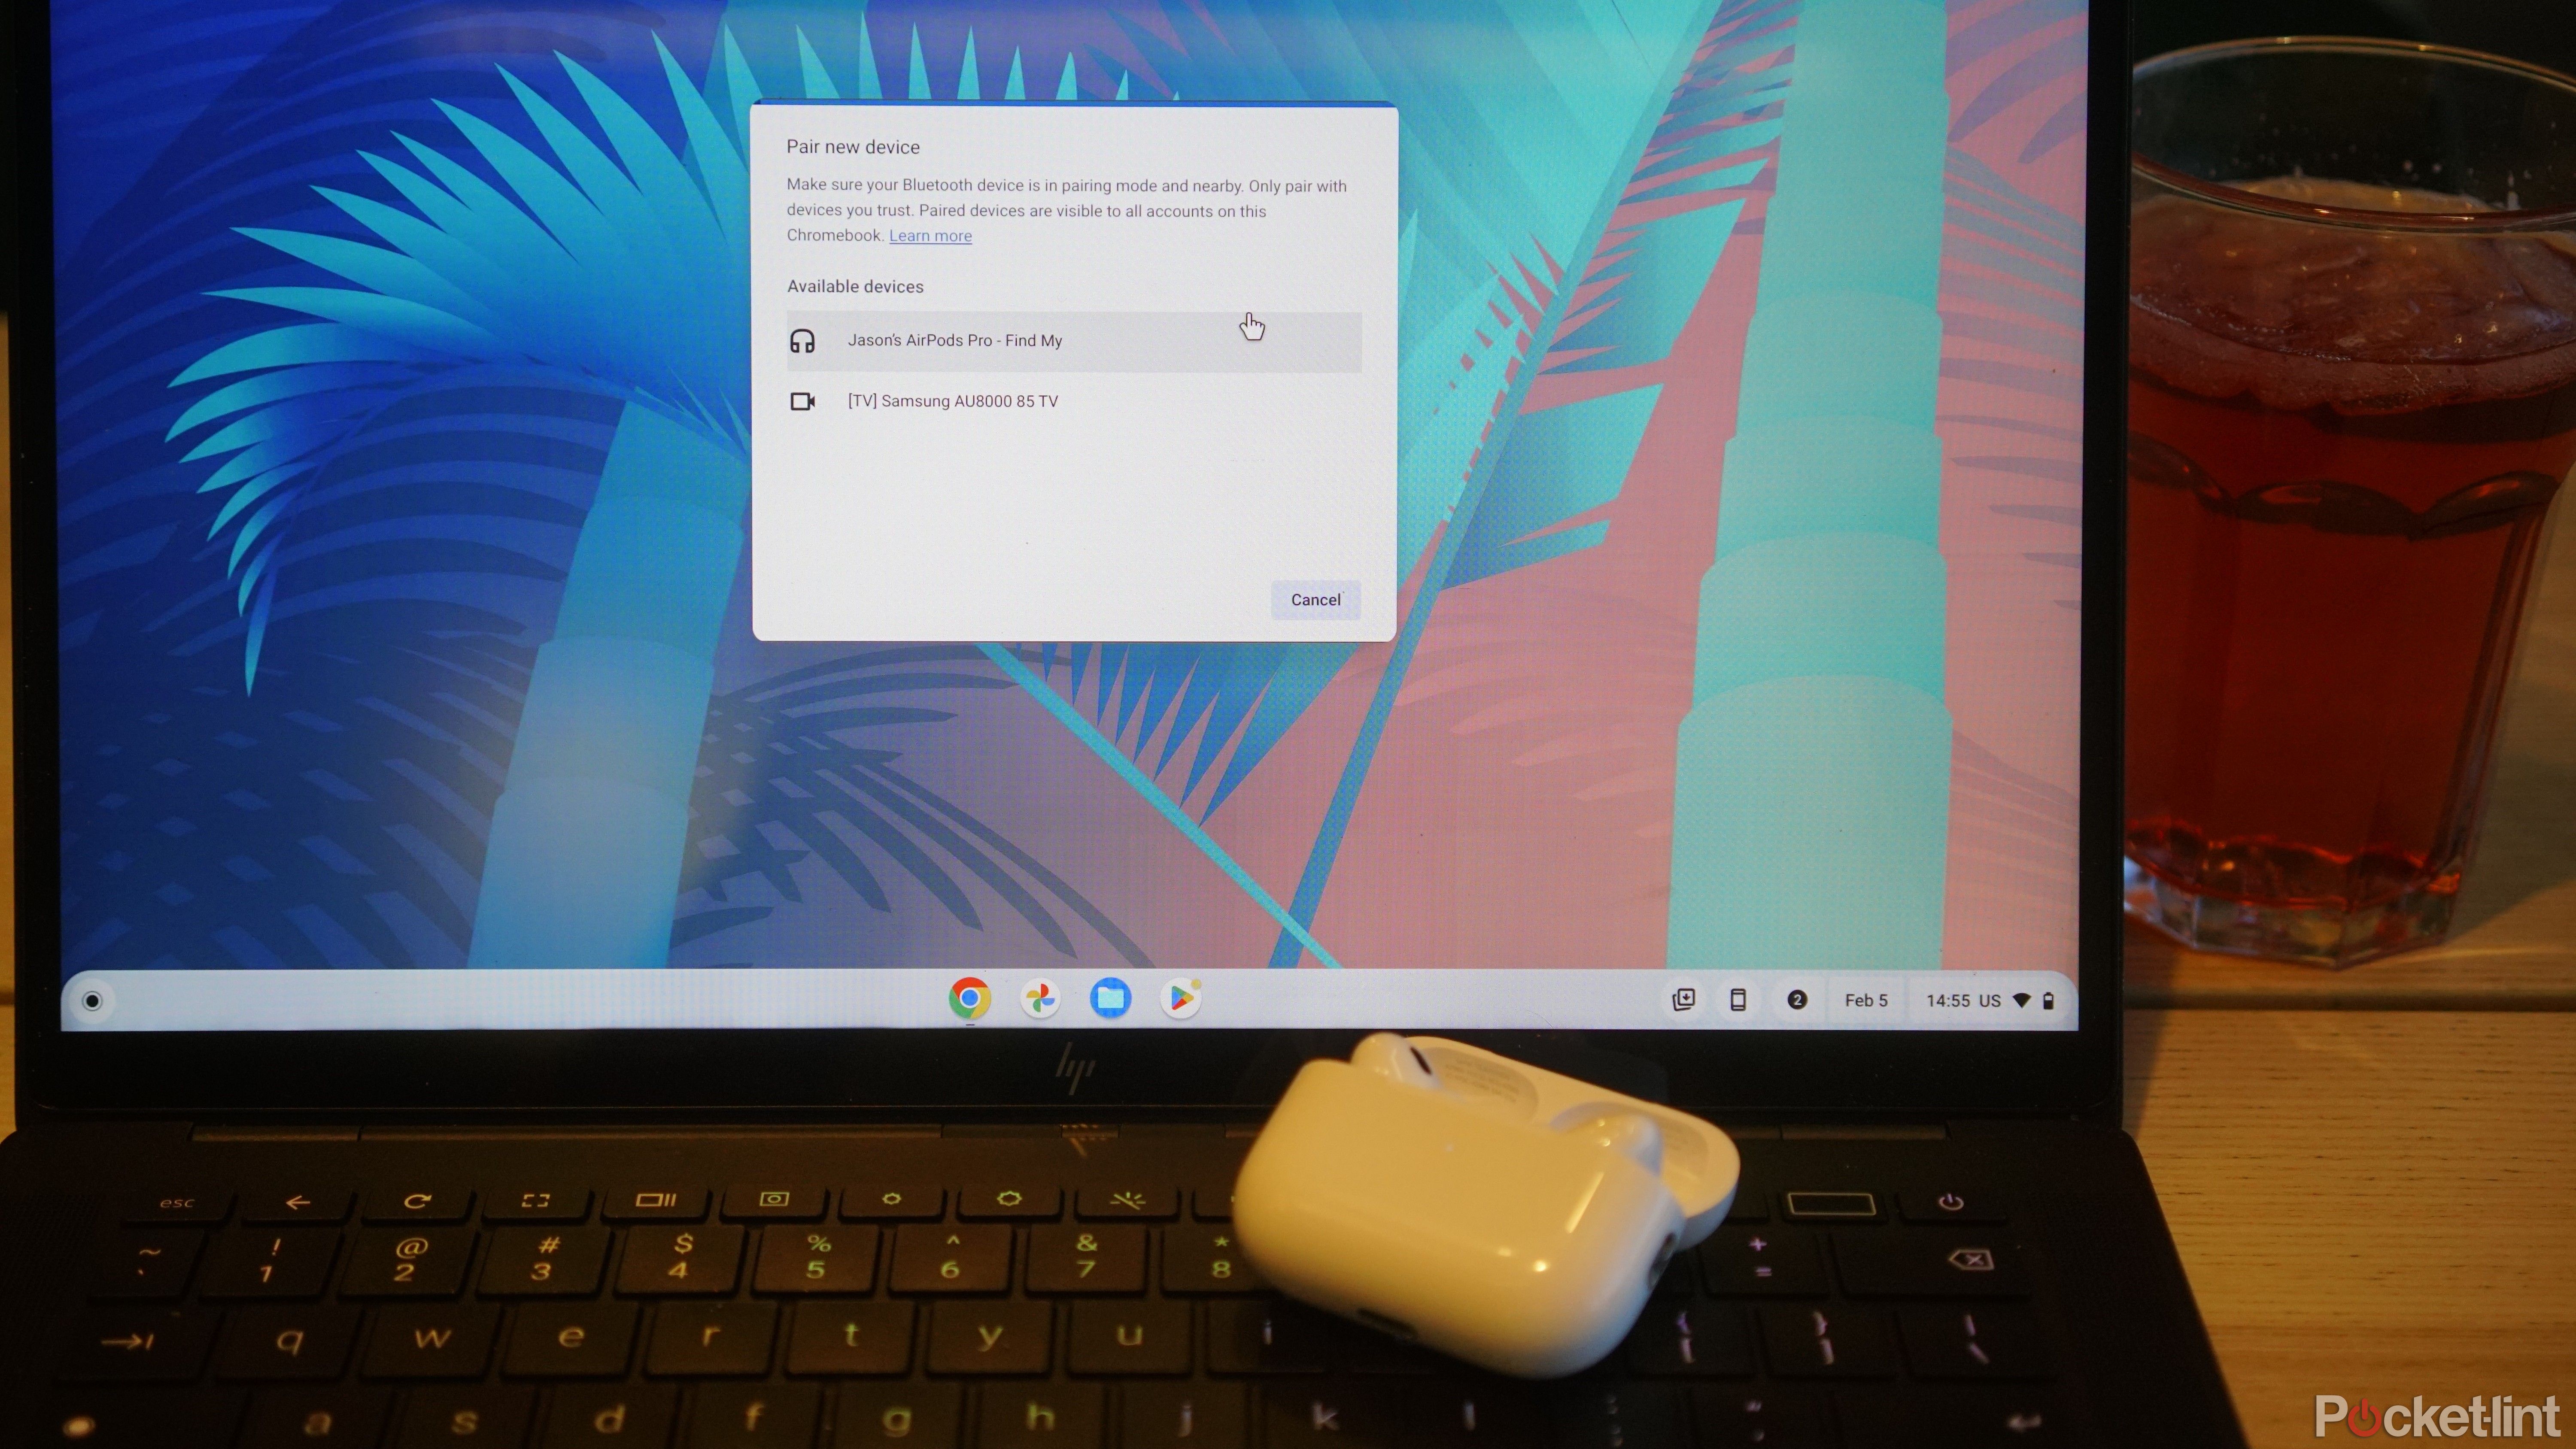
How to easily connect your AirPods to a Chromebook
Yes, you can take your meeting on Chromebook with AirPods in. Pairing AirPods to a device outside Apple’s walled garden is possible and fairly simple.
What’s more, over the years, the system has come a long way from something with barely any features running on lowest-grade hardware, to a competent, lightweight operating system that supports not only web-based applications but also Android apps, Linux software, and even Steam — all for (usually) a great price.
With the rise of the popularity of ChromeOS comes increasing expectations of its users. Back when it was just a very barebones experience, you really wouldn’t expect it to do much more — or have many more additional features — than just browsing the web. Nowadays, you can find a lot of cool and extremely useful additions baked right into the system.
One of the most useful, whether you want to use it as an accessibility feature, or as a way to make your lazy scrolling session even more chill, is the ability to turn on the auto-clicker straight in the software. Here’s how to turn the automatic clicks on when you want to use them on your Chromebook.
How does auto-clicker work in ChromeOS
The auto-clicker function, as the name suggests, lets your software take care of the mouse clicks for you once the cursor sits idle for an amount of time. This is a handy feature both for people with motor impairments or those looking to simplify certain tasks that they need to complete throughout the day.
ChromeOS comes with the auto-clicker built-in as an accessibility function, and it can be enabled in just a few steps. The whole feature is extremely easy to use. Once enabled, the auto-clicker performs a click once your mouse pointer stops moving, so you can automatically select what you’ve guided your mouse pointer toward.
How to turn on auto-clicker in ChromeOS
As we’ve mentioned, enabling the auto-clicker in ChromeOS is really as easy as it gets. To do it, you just need to follow these simple steps:
- Start at the desktop of your ChromeOS device.
- Click on the time in the bottom right corner.
- In the pop-up menu, select Settings.
- In Settings, go to the Accessibility tab.
- Go to the Cursor and touchpad section.
- Turn on Automatically click when the mouse cursor stops.
 How to customize your auto-clicker
However, simply turning on your auto-clicker is not everything you can do with this accessibility feature. Simply setting your mouse to click once the cursor stops might be a bit too limiting for you, but ChromeOS lets you dig a little bit deeper and set some more advanced click options.
- First, follow the steps in the first section above — up to the point where you turn the auto-click feature on.
- Once it’s on, you can access additional automatic click settings.
- By clicking the Delay before click option, you can set how long the mouse cursor has to stay immobile for the auto-click to kick in.
- You can also Stabilize click location, which keeps your clicks within a set range until the cursor moves outside its threshold.
- You can also set your auto-click to Revert to left-click after action. This means that after finishing a secondary action, such as a right-click or scroll, your auto-clicker goes back to the default left-click.
- Finally, you can also set a Movement threshold, which is responsible for automatically clicking certain objects within a set ring around your cursor. This option allows you to customize the size of that ring.

How to easily connect your AirPods to a Chromebook
Yes, you can take your meeting on Chromebook with AirPods in. Pairing AirPods to a device outside Apple’s walled garden is possible and fairly simple.
How to turn on different types of auto-clicks
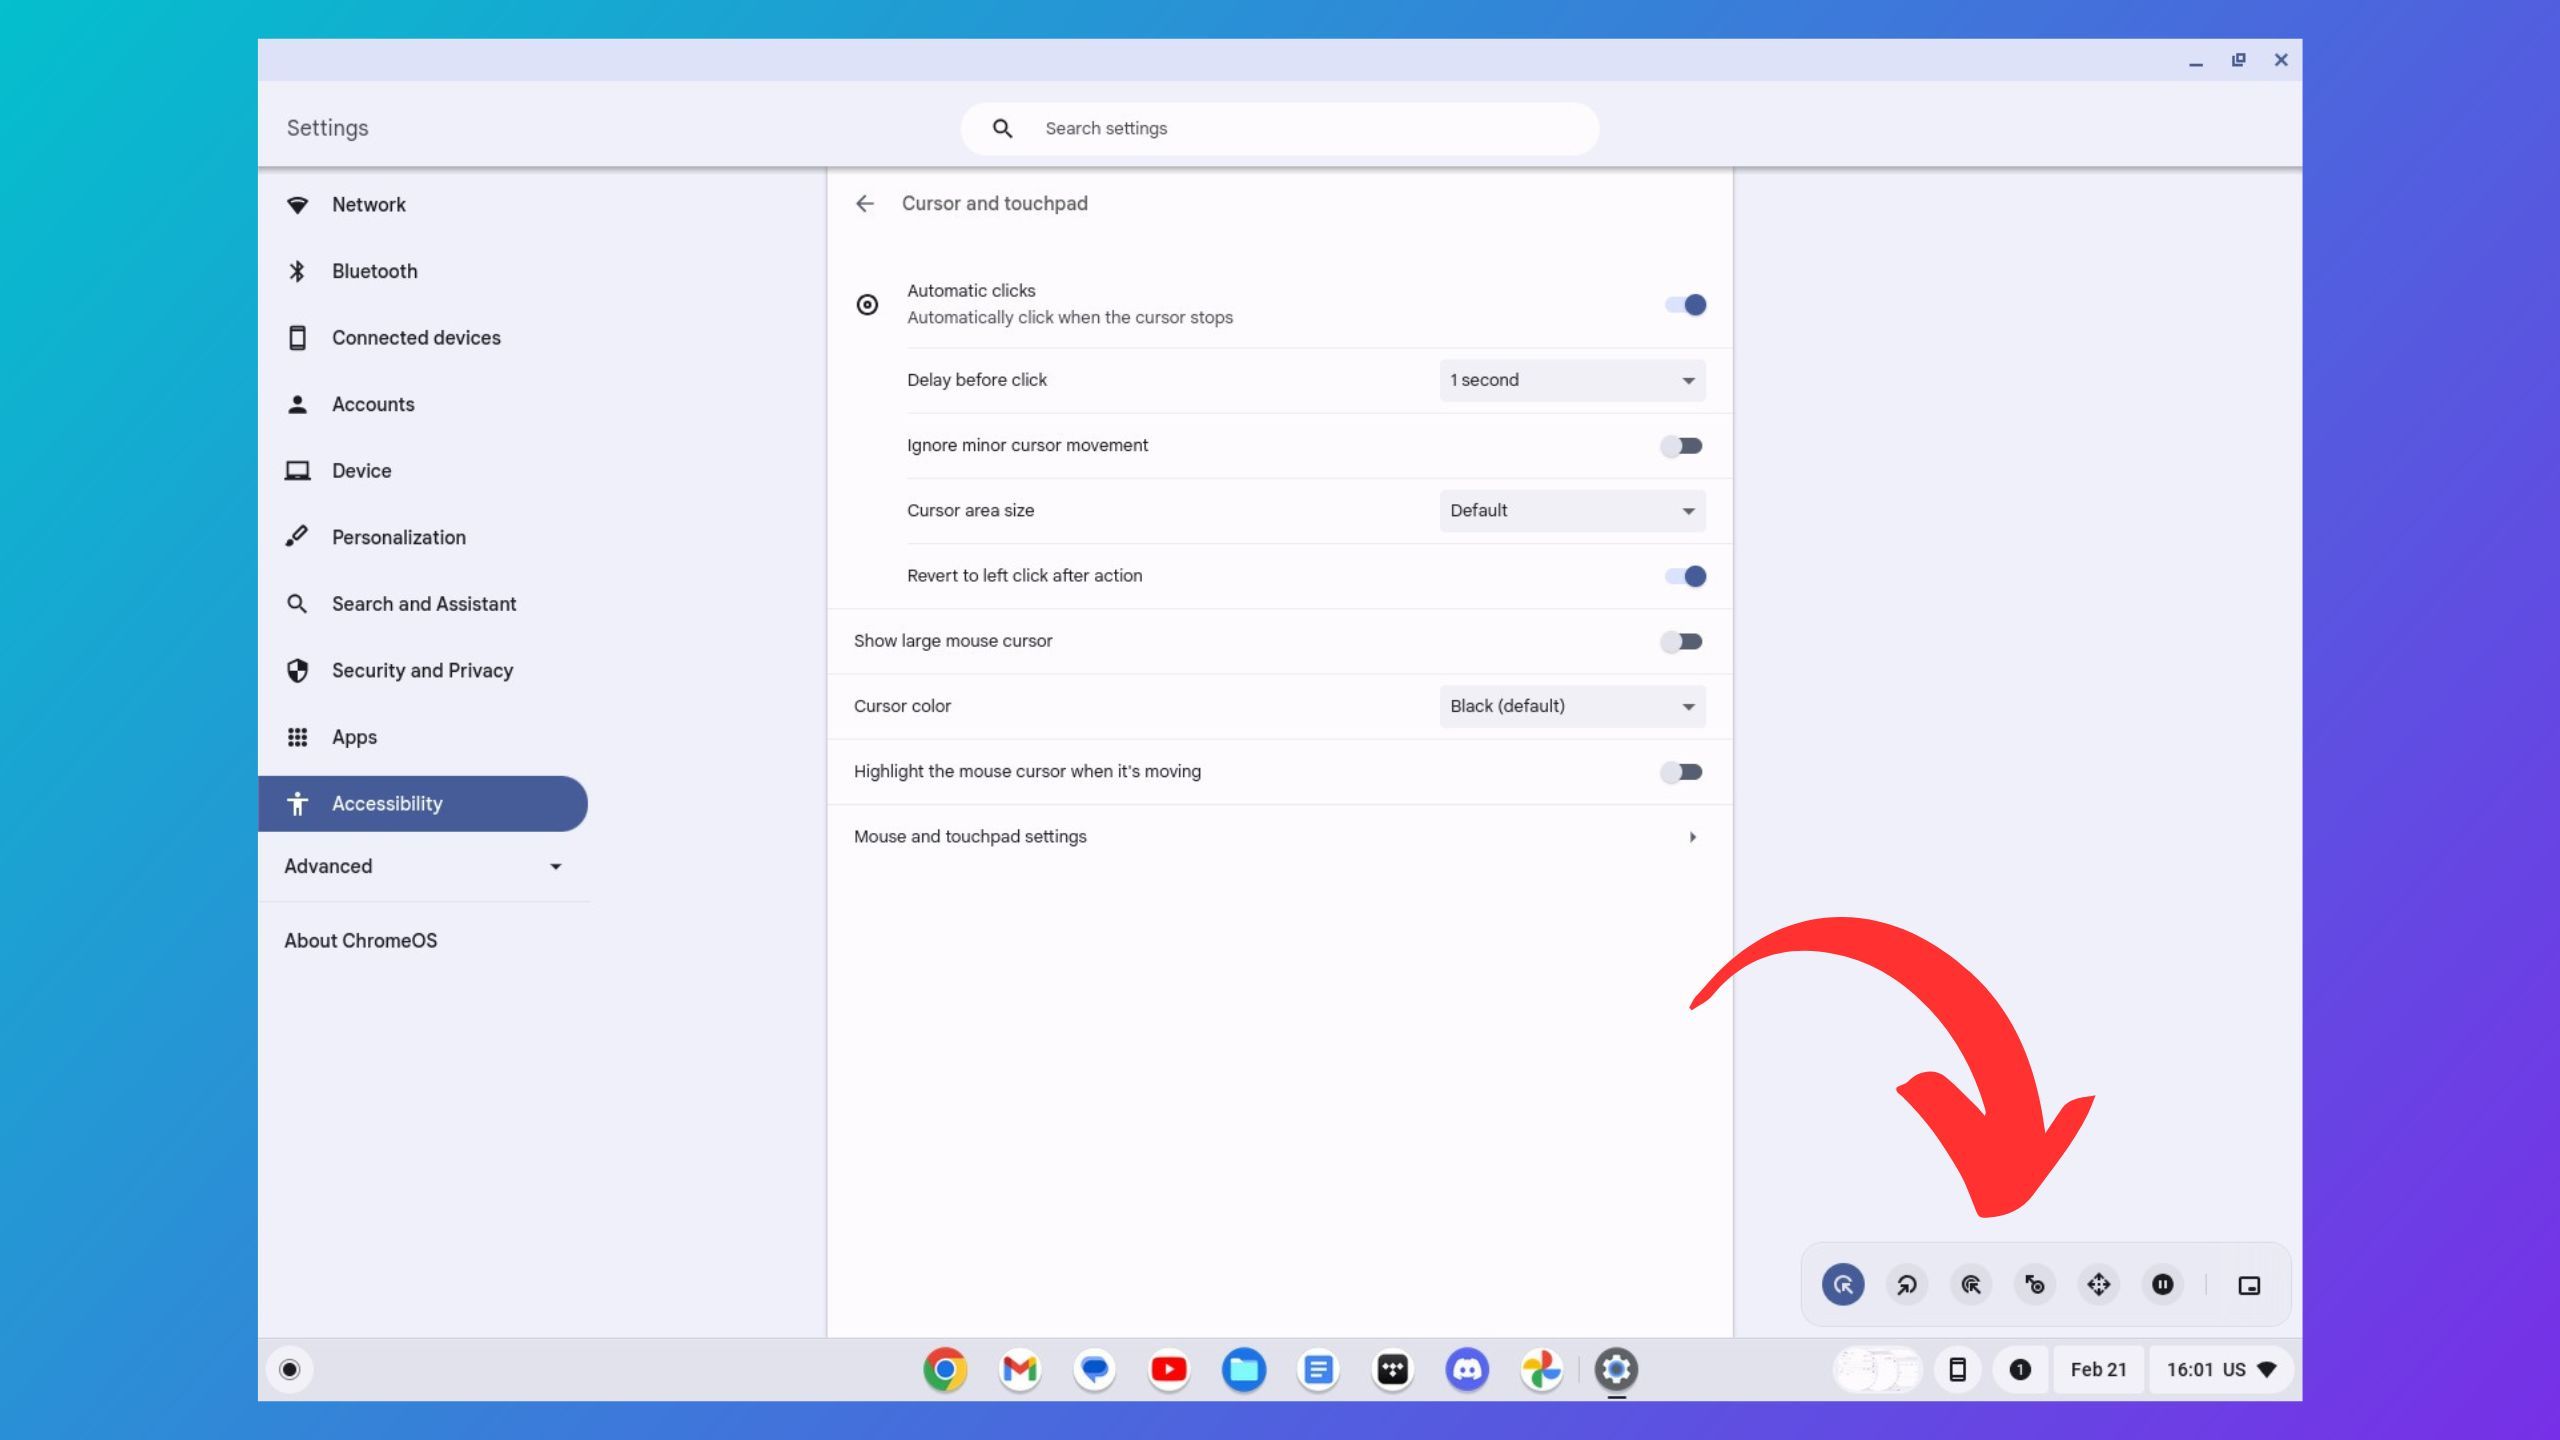
Even better, customizing when and how your auto-clicker engages is not the only utility that your Chromebook has in store for its auto-clicker. You can even set the feature to do more than a simple click. After enabling automatic clicks, in the bottom right corner of your screen you’ll see the auto-click menu, with various click options to choose from. Here’s what they enable from left to right:
- Choose the first icon to the left to enable Left-click.
- Choose the second icon to the left to enable Right-click.
- Choose the third icon to enable Double-click.
- Next is the Click and drag option.
- The fifth function of the auto-clicker is the Scroll option. When turning on the scroll option, you’ll see a new pop-up window with scrolling options. You can use them to navigate various sites. It is also context-sensitive, so if your cursor moves to another window, you will be able to scroll there as well without reactivating the scroll function.
- Finally, you can also stop automatic clicking by pressing the No action icon.
You can also move the auto-click menu by clicking the rightmost icon, which lets you dock it to other corners of the screen.
Trending Products

Cooler Master MasterBox Q300L Micro-ATX Tower with Magnetic Design Dust Filter, Transparent Acrylic Side Panel…

ASUS TUF Gaming GT301 ZAKU II Edition ATX mid-Tower Compact case with Tempered Glass Side Panel, Honeycomb Front Panel…

ASUS TUF Gaming GT501 Mid-Tower Computer Case for up to EATX Motherboards with USB 3.0 Front Panel Cases GT501/GRY/WITH…

be quiet! Pure Base 500DX Black, Mid Tower ATX case, ARGB, 3 pre-installed Pure Wings 2, BGW37, tempered glass window

ASUS ROG Strix Helios GX601 White Edition RGB Mid-Tower Computer Case for ATX/EATX Motherboards with tempered glass…


